
Introduction
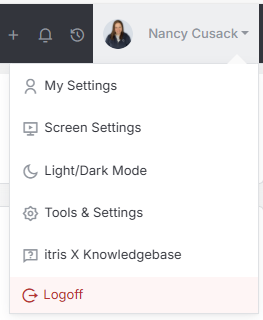
Users are created and managed within Tools & Settings, which is accessed via the profile menu.
Within Tools & Settings under the Users sub-menu you will find Users.
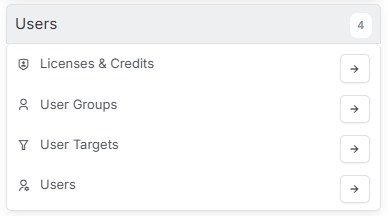
Please note access to this area is permission based, see the article Tools & Settings | User Groups for more details on permissions.
The settings available in the area are detailed below, once you are happy with your selection you will need to save these settings before navigating away.
Users Home Screen
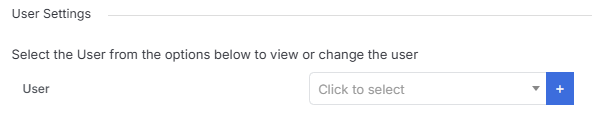
From the Users Home screen you can click the plus icon to create a new user, or use the drop down to select an existing user to manage.
Creating a New User
When creating a new user beyond name and email address you can add in their job title, User Group (from which permissions are managed, see the Tools & Settings | User Groups article for more details) and department (see below). These details an also be managed once the user is created via Managing Users.
If you wish to assign them a licence at this stage and or send the notification (welcome) email ensure you tick the relevant boxes. Again, these can be initiated later, see the article Tools & Settings | Licences & Credits for assigning licences and the Managing Users section below for sending the notification email.
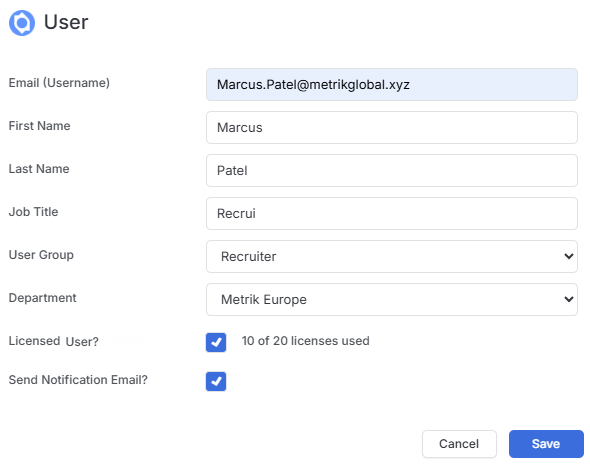
If sending the notification email at this stage, once you click save the user will be sent an email containing their user name, password and link to log in. They can change their password once they are logged in should they wish.
Deleting a User
Under the User drop down select the user you want to delete, click the red bin icon to delete the User. You will get a pop up message asking you to confirm.

An implication to deleting a user is that the user won’t appear in any filters (though all the activities will still be listed, and records will still exist as owned by that users). Prior to deleting a user you may wish to use the list filters to find records owned by that user and update ownership of those records to another user. This can be done via the Action button and bulk update. See the Record Views article for more details.
If you delete a user in error, please contact the helpdesk to recover the user record.
Managing Users
Once a user is created, there are a number of fields available on the user record to manage.
A number of these settings including updating password can be manged by the user from their My Settings area, see the article My Settings for more details.
General Settings
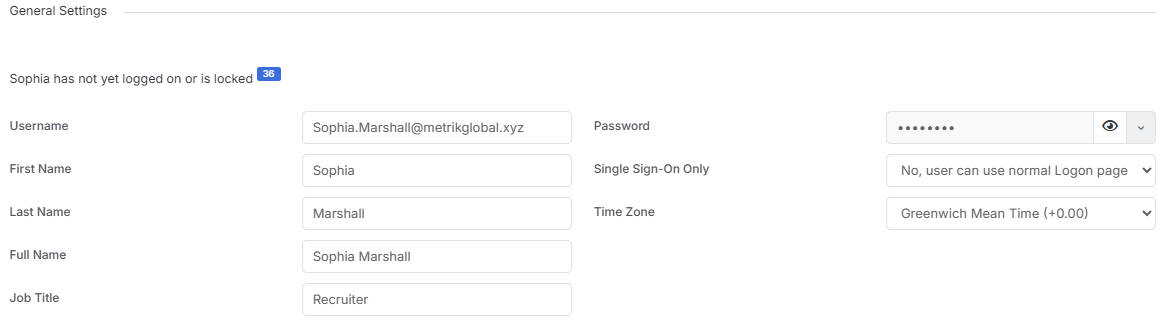
At the top of the General Settings area the last log in details will show, or if the user has never logged in this will be displayed. The number at the end signifies the User’s ID number.


Under the first space within this area under the Password dropdown menu you can do the following for the selected users:
- Change Password
- Send Welcome email
- Lock the User (so that they can’t log in), you can also use this option to Unlock a locked user.
- Terminate the User session (log’s them out if they are logged in).
Contact Details
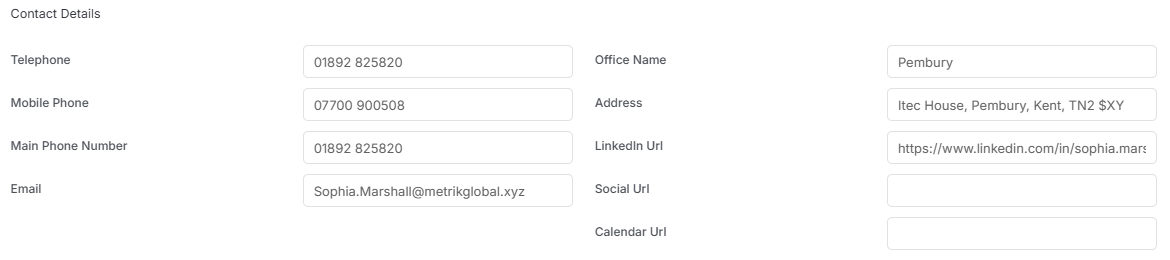
Under Contact details you can add the telephone, address and social media links for the user.
Organizational Details
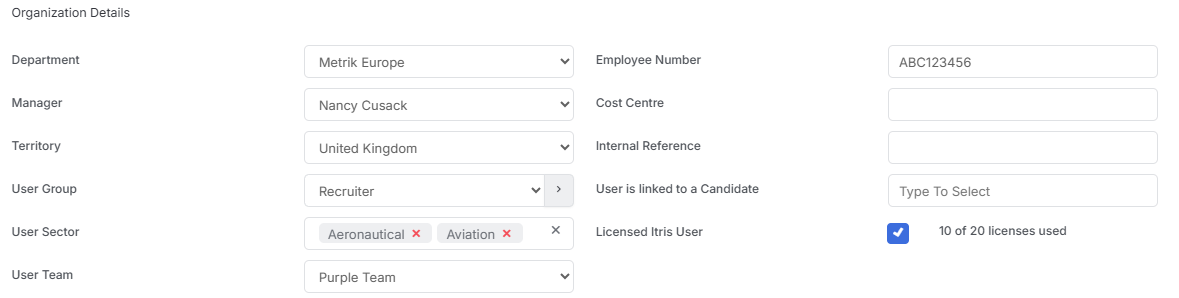
In the Organizational Details area you can select the users Department, Manager, Territory, User Group (used for permissions, see the article Tools & Settings | User Groups), User Team and more.
Additionally, if not already done so you can assign a license (if unused licences are available), as a user requires a license in order to log in.
Departments
Departments can be assigned to Client, Contact, Lead, Job and Candidate records. Additionally, you can assign users to a Department, then from within User Group settings (see the article Tools & Settings | User Groups) you can determine if users in that group can view records of all departments (or just those of the department they are in).
See the article Tools & Settings | Application Settings for more details.
Territories
Territories represent the country the user is in, please see the article Tools & Settings | Application Settings for more details.
User Groups
User Groups determine the permissions/system access for users, please see the article Tools & Settings | User Groups for more details.
User Sectors
You can add a user to one or more sectors. You can use Sectors as filters within your report, please see the article Tools & Settings | Application Settings for more details.
Teams & Managers
Users can be added to one or more Teams. Teams, for example can be used in Reporting to filter or divide data. Please see the article Tools & Settings | Application Settings for more details on creating Teams.
Teams can be built by completing the Managers and Team User fields.
View Preferences
This area lets you set some default views for the user.

Managerial View
Managerial View will determine what a user can see based on the option picked here, when viewing team data, for example in Team Dashboards. Options include Everyone (e.g. every user no matter what team), Peers & subordinates (based on Teams), Only people they manage, Only themself.
If the user is a manager themselves, the team they manage will be added in the Organizational Details section above.
Default Shortlist
Choose the default view for the Shortlist area on Job Records as either Cards or Lists.
Start Up Territory
Start Up Territory should be selected inline with the selection under Organizational Details and is the overriding setting for viewing data. This setting will be the default setting for the User at log in, the Territory setting within Organizational Details will be the setting applied to new records when created.
Start Up Department
Start Up Department should be selected inline with the selection under Organizational Details and is the overriding setting for viewing data. This setting will be the default setting for the User at log in, the Department setting within Organizational Details will be the setting applied to new records when created.
Default Main list view
This applies to job and leads records and whether the default view of the lists in for these areas are as Cards or Lists.
User Configuration Details
These settings determine whether the user will appear in certain areas of the system. For example;
- Sales User is linked to the Sales Widgets within the Dashboard,
- Power User (GDPR) gives the user access to the GDPR Functions within the Security Settings area. This means the user can turn this area on or off. When turned on this requires every person on system to opt in, but if turned of people then people opt out rather than opt in.
- Power User (Report Admin) will give the user administrative options around reports. For example, where somebody else is the author of a report and it has been shared with the user this gives the user additional buttons to take control/ownership or delete those reports.
- Parser or System User is an account that is used for email tracking only.

Email Signature & Aliases
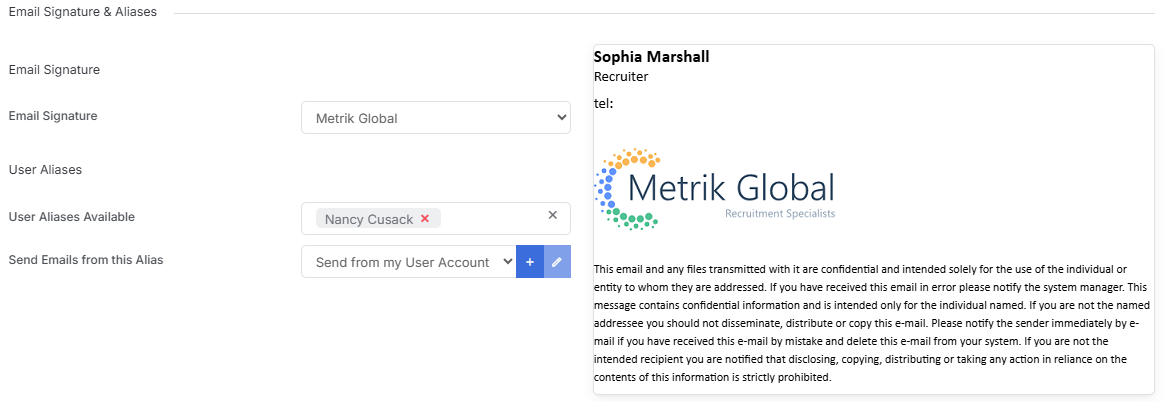
In this area you can set the Email Signature for the user from the available templates, please see the article Tools & Settings | User Email Signature Templates for more details.
Additionally, you can select/create User Aliases, which means the user can email using that alias, whether that be another system users or a department email address.
User Aliases Available
Select users that the users can email as.
Send Emails From the Alias
Sets the default email, this can be the users email address or one of the aliases.
My Alerts
Alerts are notifications on different actions/activities that can occur on the different types of records. You can create as many alerts as you need.

Depending on the Record type selected, different Action types are available. Additionally, alerts can be based off of ownership or department. You can choose how often and the method the alert is delivered.
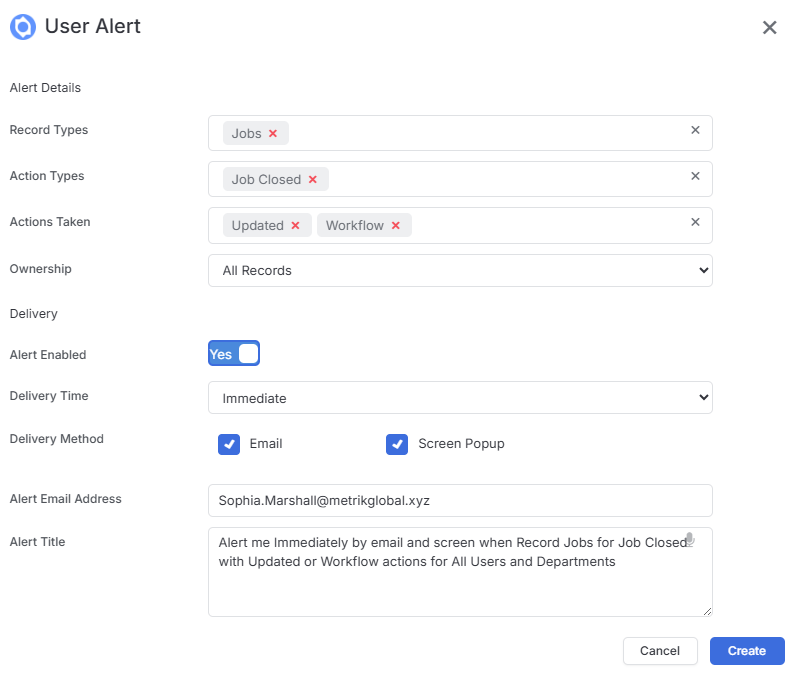
Users can also create an manage their own alerts via My Settings.
PlugIns
The PlugIns area is where you can manage integration accounts for that user, including Microsoft 365 and Gmail for sending emails.
In order to send emails from the system the users profile will need to be linked with their email account. This can be managed from here or by the user from within their My Settings.
There are specific integration settings for Gmail and Microsoft 365, however if the users email account is not one of those then a Custom option is available.
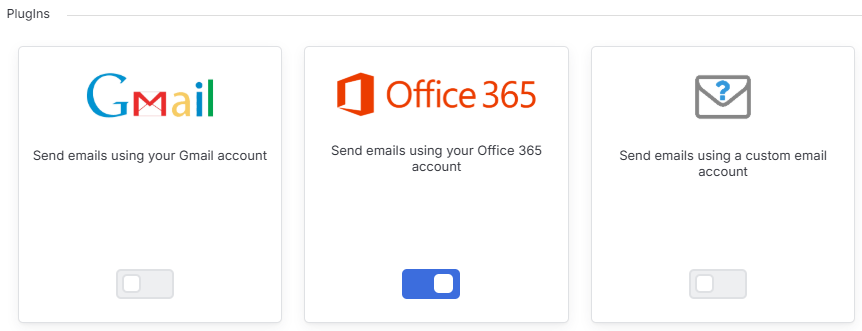
Gmail & Office 365
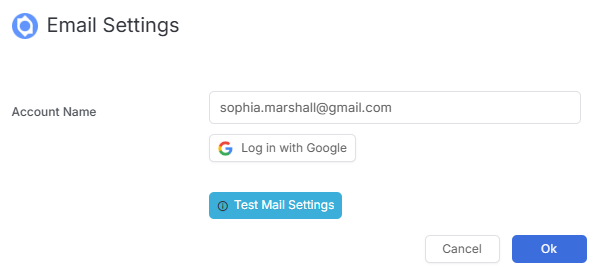
Simply add your email address and choose to Log in with Google or Log in with Office 365 as relevant. A pop up will display for you to add in further details including password, follow the prompts to complete the set up.
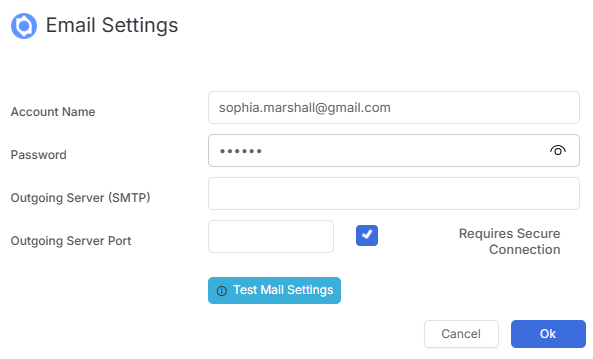
Custom Email
With the Custom Email set option, you will additionally need to supply the Outgoing Server (SMTP) and Outgoing Server Port details as relevant.
Job Boards
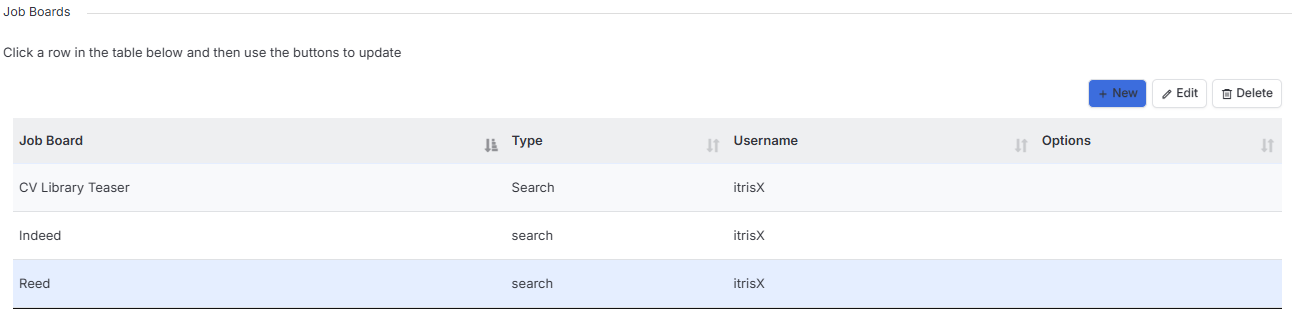
For users with the Job Board Searching module the details of your Job Board accounts you have for CV Searching can be added here. This will allow you to search both itris and your job boards at the same time. See the article Job Record | Longlists for details on using this feature.
Targets
Setting up user targets lets you create specific goals for users, making it easy to track how they’re doing against your business plans. Targets can be set via the user record here or via the User Targets area. See the article Tools & Settings | User Targets for more details.