
Introduction
itris makes it easy to create professional, personalized templates for all your recruitment communications. Whether you’re sending emails to candidates, text messages for quick updates, or formal letters for offers and contracts, the template system helps you stay consistent while saving time.
Email Templates are managed within Tools & Settings, which is accessed via the profile menu.
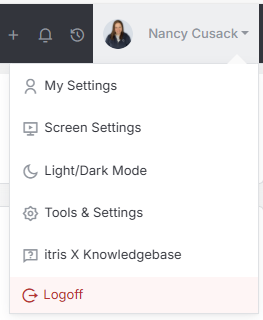
Within Tools & Settings under the Templates sub-menu you will find User Email Signature Templates.
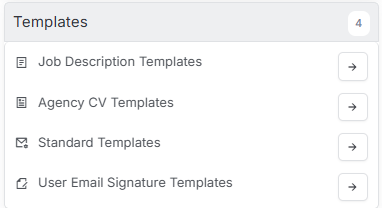
Please note access to this area is permission based, see the article Tools & Settings | User Groups for more details on permissions.
How to create User Email Signature Templates is detailed below and you can have as many templates as required. When creating or editing your templates, ensure you Save Template before navigating away.
Creating Templates
When you first access the templates section, under the drop down menu you’ll see a filterable list of your current templates, each organised within folders. Email templates are by far the most commonly used, though you might find letter templates handy for things like invoices or formal documentation.
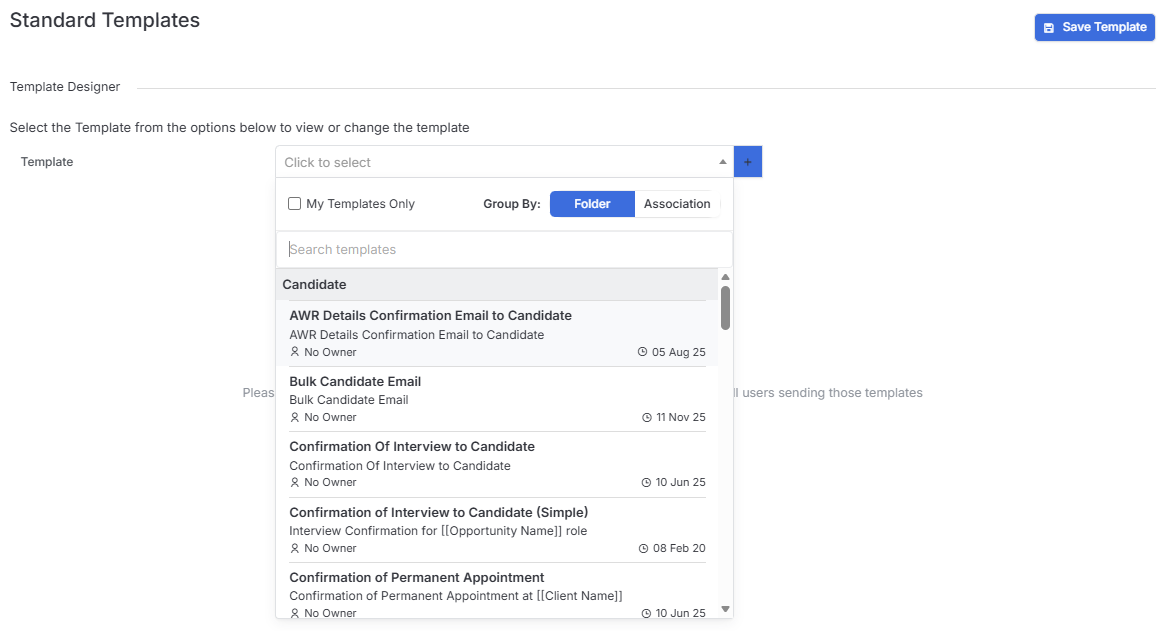
To create a new template, simply click the plus sign. You’ll need to give your template a name and choose which folder to keep it in - this helps keep everything organized as your template library grows.
The format choice is crucial here. You can select from:
- Email templates
- Text templates
- Letter templates
The “Associate” field is really important as this drives which tags (merge fields) become available in your template. Getting this right from the start saves headaches later. Most of self explanatory, whoever note that for communications from shortlists, choose “Placement”.
If you’re not starting from scratch, you can clone an existing template to give yourself a head start - this is particularly useful when creating variations of similar communications.
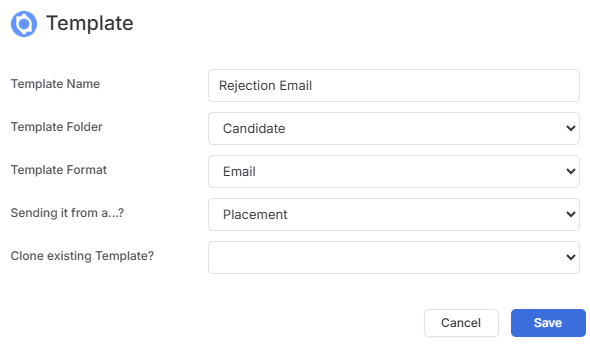
Template Details
Once you’ve created your template, you’ll see the template details section showing the Template Name, Type, who owns it, who can use it, and which Folder it lives in. You can also assign templates to a User Group. This means when you’re searching for one to use, ticking My Templates surfaces both your personal templates and any assigned to your group.
This is also where you can create additional folders or edit and delete existing ones to keep your templates well-organised.

System Templates
Some templates will require a System Template value as these templates require certain system functions to happen automatically on the template, for example creating an Invoice PDF or applying the Market Candidate CV Summary tag (as configured in Placement Settings).

Template Content
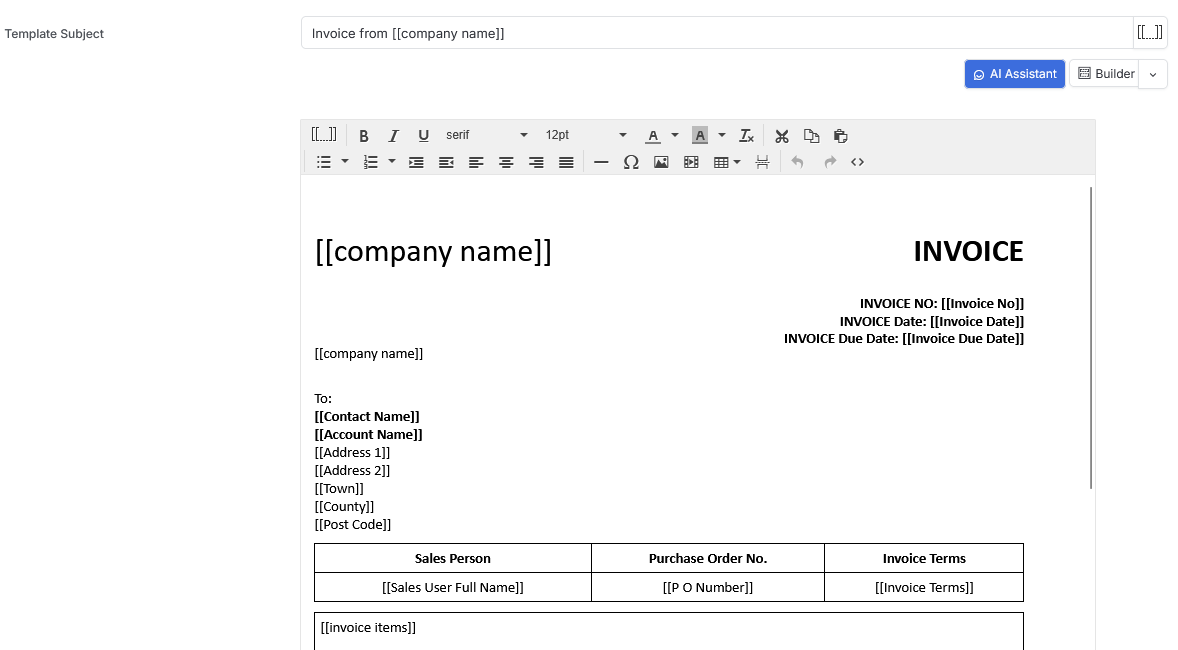
The Template Text section is where the magic happens. You’ll notice there’s a header area where you can add tags right from the start.
Below this, you have two powerful tools at your disposal:
- AI Assistant - This can help you write your email content
- Builder - Offers pre-built templates you can apply (similar to those you might recognize from Campaigner)
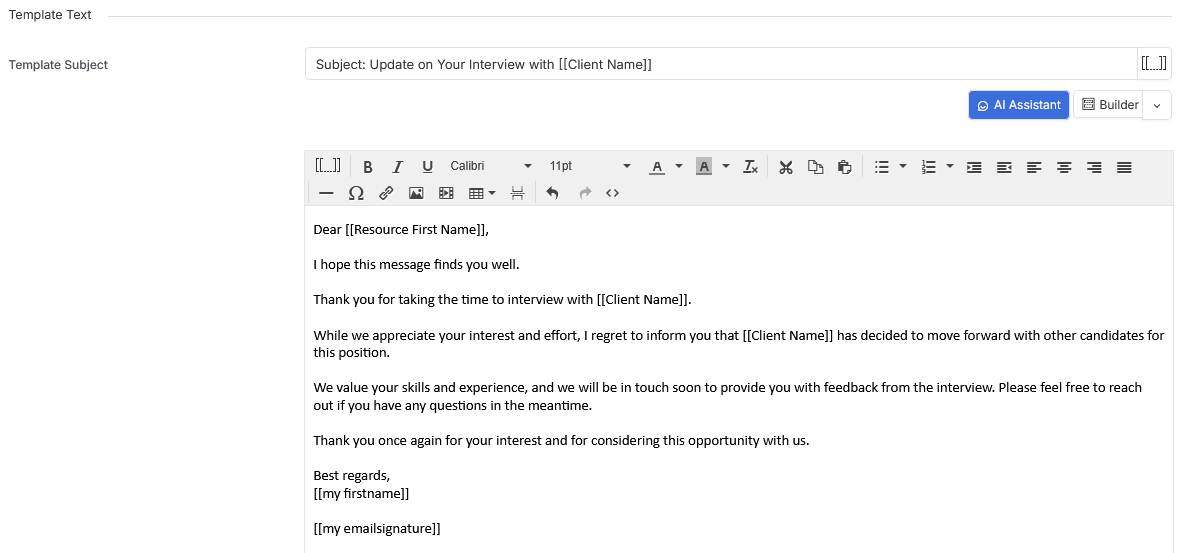
The Content Area
Your template content can include tags for personalisation, formatting, hyperlinks, images, tables, and much more. The Tags are particularly powerful because they pull in data not just from Candidate and Client records, but also user data including your signature and current dates.


Using the AI Assistant
The AI Assistant is a real time-saver. You can complete prompts specifying how long you want the content, what tone to use, the format, who it’s going to, and more.
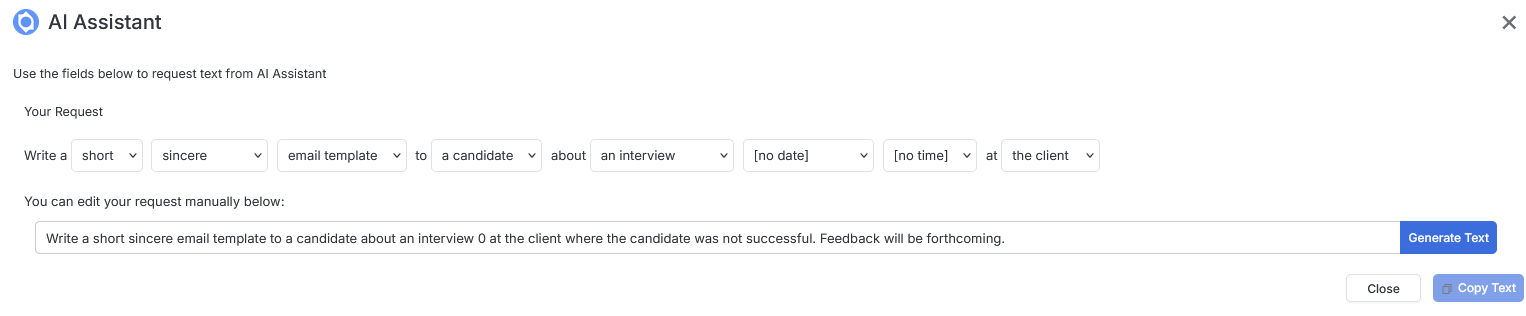
Click generate and let itris write the content for you. You can then copy and paste this into your template, add your specific tags, and make any final edits.
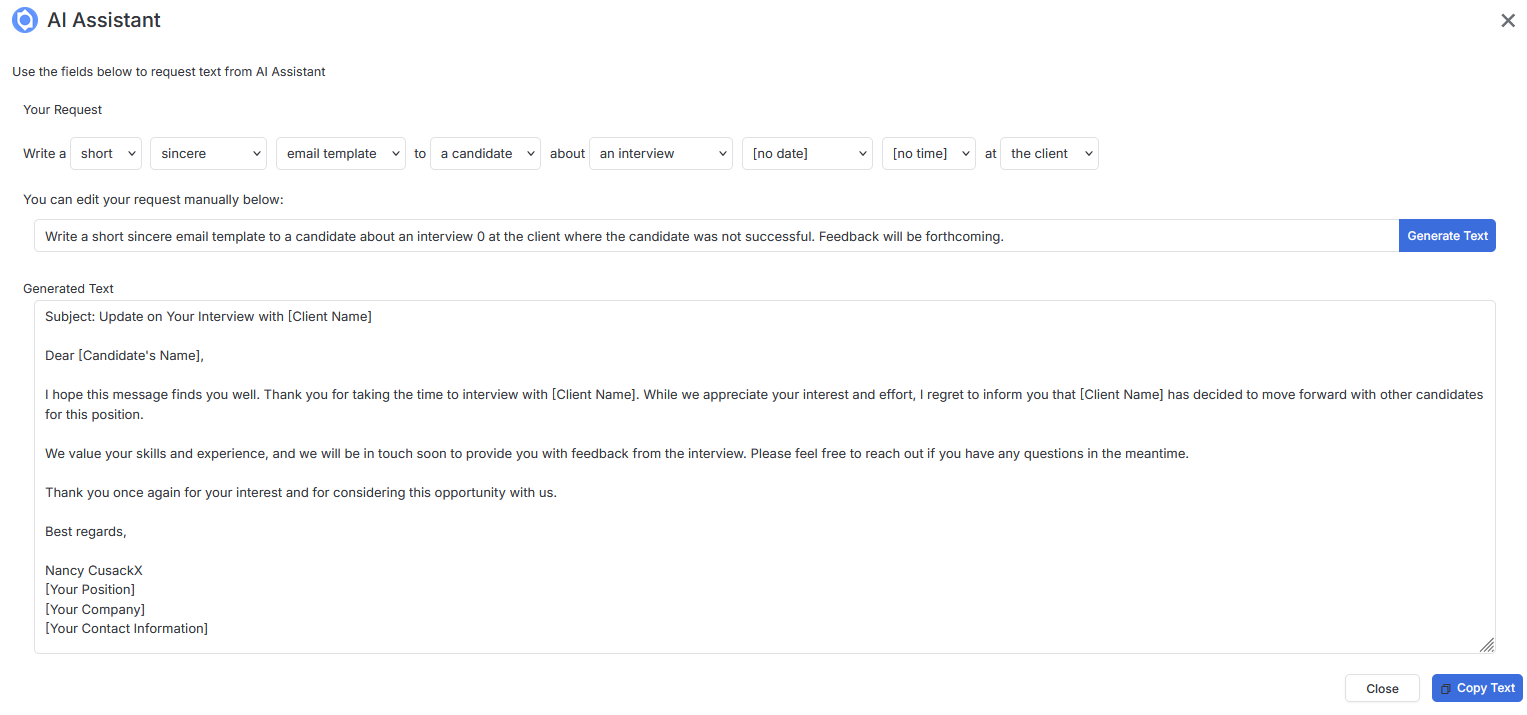
Text Templates
These work very similarly to email templates, complete with tags, subject lines, and message content.

Letter Templates
These also follow the same pattern as email templates with tags, subject, and text content. As with Email Templates they also have the AI Assistant and Builder options available, making them just as flexible for your formal communication needs.
Additional Features
Fixed Recipients
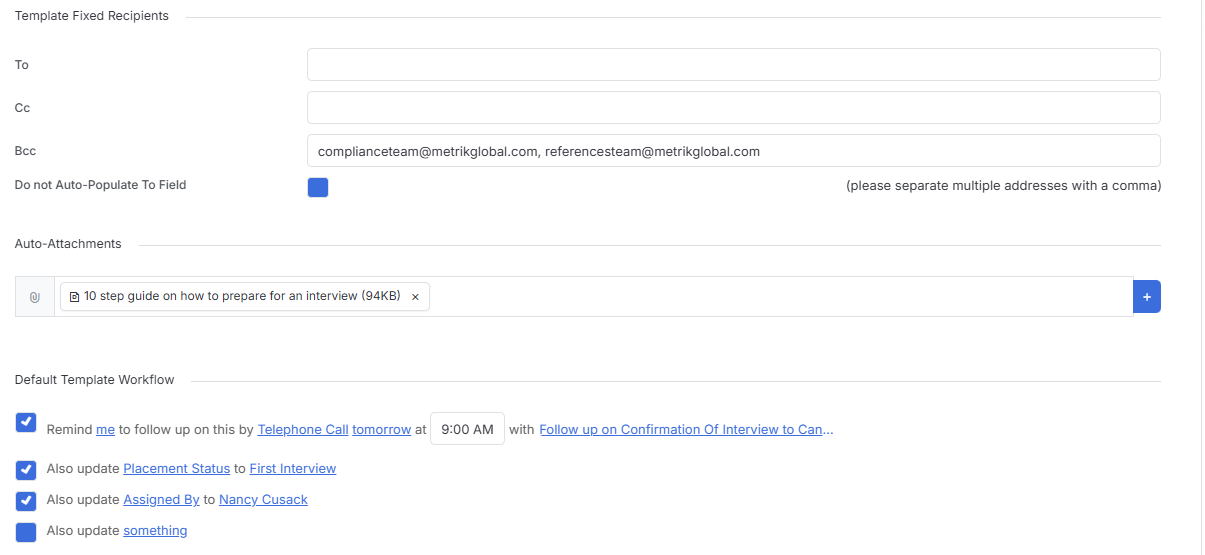
Under the Template Fixed Recipients section, you can set up automatic recipients for the To, CC, and BCC fields. If you need multiple recipients, just separate them with commas.
The “do not auto populate to” option is particularly useful when you don’t want to auto-populate the “To” field. For example, if you’re creating an email template associated with candidates or contacts but want to send it to someone else, you can still use all the merge tags while directing the email elsewhere.
Auto-Attachments
You can add attachments from your document library to templates using the plus icon under Auto-Attachments. Simply click on the document name to select it - you can choose multiple documents, and you’ll see a tick appear once each document is selected. Just close the form when you’re done.
Default Template Workflow
The Default Template Workflow feature is where templates become really powerful for recruitment process management. You can set up activity reminders (like follow-up calls) and even specify custom activity titles.
Under “Also update Something,” you can automatically:
- Update statuses
- Change owners
- Modify sources
- And much more
This is commonly used to update statuses within your recruitment workflow. For example:
- Sending offer emails can automatically update the placement status for that submission
- Assignment confirmation emails can update the candidate status to “On Assignment”
- Rejection emails can update the appropriate workflow status
You can apply multiple “Also Update Something” actions to a single template, making your processes even more efficient.