Introduction
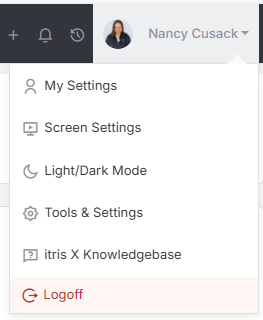
Products & Services are housed within Tools & Settings, which is accessed via the profile menu.
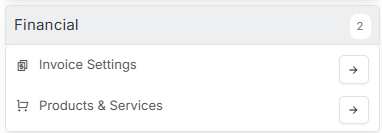
Within Tools & Settings under the Financial sub-menu you will find Products & Services.
Please note access to this area is permission based, see the article Tools & Settings | User Groups for more details on permissions.
The settings available in the area are detailed below, once you are happy with your selection you will need to save these settings before navigating away.

Setting up your invoice preferences in itris is straightforward and gives you control over how your invoices are created and managed. Let’s walk through the key areas you’ll want to configure.
General Settings

Default Invoice Status
When you create a new invoice, itris will automatically assign it a status. You can choose what this default status should be from the available options. Most users apply “Raised” as their default since this is what itris starts with initially, and it works well for most scenarios.
Lock Invoice Date on First Send
This setting gives you control over whether the invoice date can be changed after you’ve sent it to your client. If you want to lock the date once it’s sent (which helps maintain consistency), select this option. However, if you prefer the flexibility to edit the date even after sending, choose “No, allow to be changed after sending” instead.
Default Invoice Terms
Here you can set how many days your clients have to pay their invoices. Simply enter the number of days you want, or use the handy up and down arrows to adjust the value. This will be applied to all new invoices you create, though can be amended on the invoice.
Default Tax Rate
Set your standard tax rate here by entering the percentage or using the arrow controls. This will automatically be applied to new invoices, saving you time on each one you create.
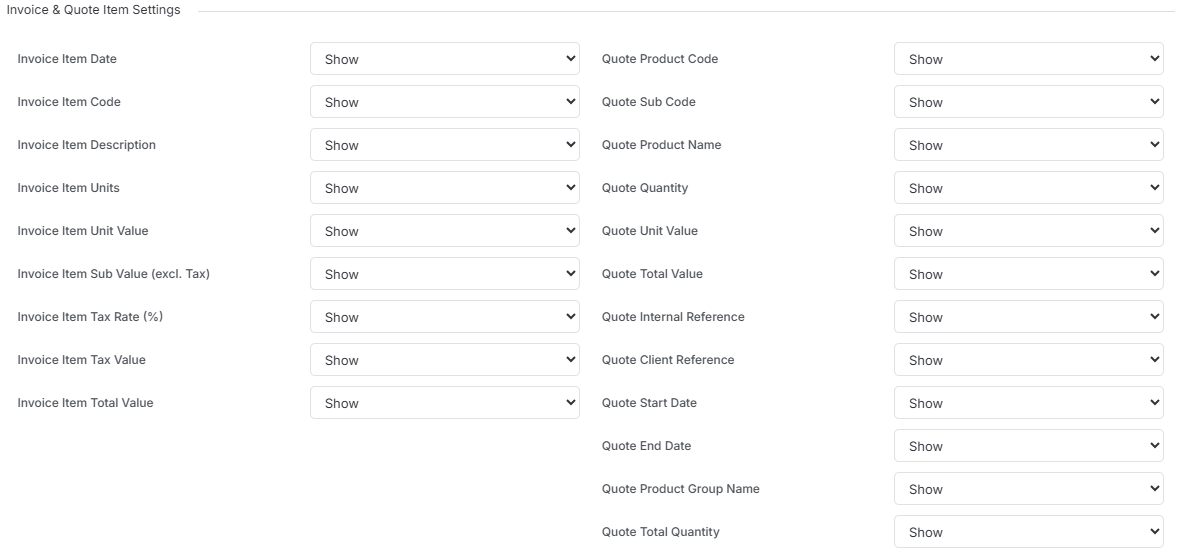
Invoice & Quote Item Settings
These settings determine what information appears in the columns of your actual invoices - the ones your clients will see. For each item, you can decide whether to show or hide it:
- If you want certain details visible to your clients, select “Show” from the dropdown
- For information you’d rather keep internal, switch to “Hide”
This flexibility lets you customise exactly what your clients see while keeping your invoices clean and professional.
Account System Settings
If you’re using an accounting integration with itris, you’ll see an additional section here where you’ll need to configure some settings to ensure everything syncs properly between the two systems. This section will only appear if you have an integration set up. The specific settings you’ll need will depend on which accounting software you’re using, so be sure to check out the relevant Integrations article for your platform.
Payment/Invoice Profiles
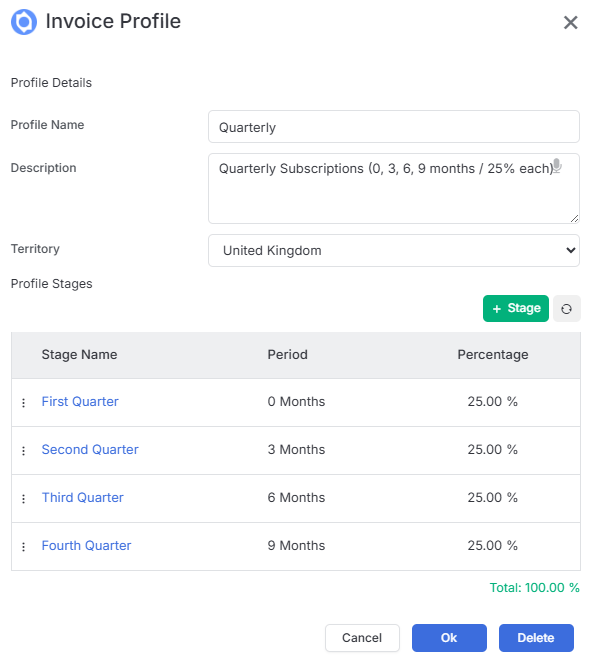
Payment profiles are particularly useful when you need to split invoices over time - perhaps monthly or quarterly payments across a full year contract.
You can create multiple payment profiles for different scenarios - maybe one for monthly splits, another for quarterly, and so on. This gives you flexibility when creating invoices for different types of contracts.
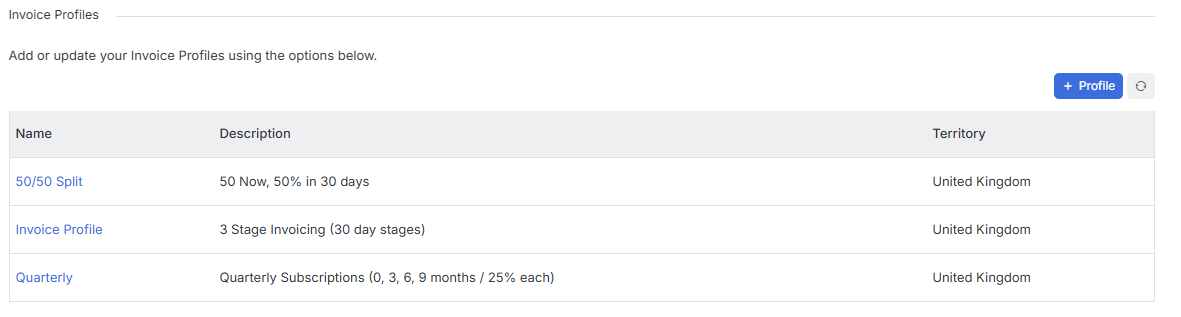
Creating a Payment Profile
When setting up a payment profile, you’ll need to add enough stages that total 100% of the invoice value. Remember, you need a separate stage for each part of the payment, including the original invoice.
Here’s how to set one up:
- Add a new payment profile and give it a clear description (like “Monthly” or “Quarterly”)
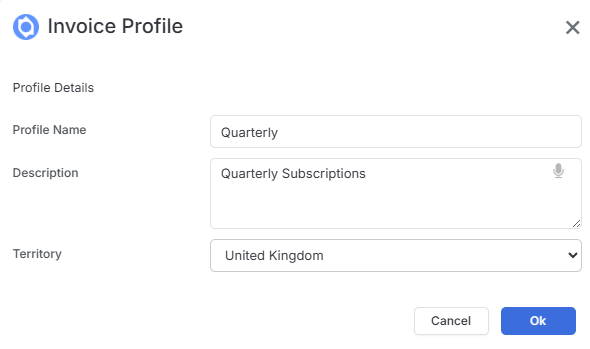
- Save your initial profile, then go back to edit it and add your profile stages
- Click “+Stage” to add each payment stage
- Give each stage a name and set the timeframe (using the dropdown to select days, weeks, months, etc.)
- Set the percentage for that stage - for example, your first stage might be 0 months at 25%
- As you add each stage, itris will show you the running total of percentages used