Introduction
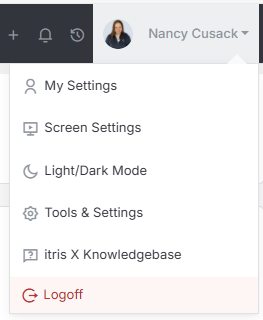
Display Settings are housed within Tools & Settings, which is accessed via the profile menu.
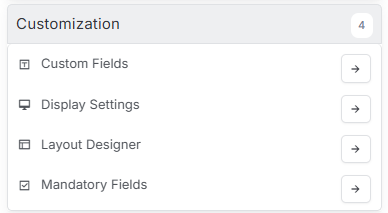
Within Tools & Settings under the Customization sub-menu you will find Display Settings.
Please note access to this area is permission based, see the article Tools & Settings | User Groups for more details on permissions.
The settings available in the area are detailed below, once you are happy with your selection you will need to save these settings before navigating away.
Default System Settings

Company Name
This will be your company name.
Records per page
The number of records that will appear in a list, for example in Record Views, this can be set to 15, 25, 50 or 100.
Default Telephone Format
Here you can set the default layout for telephone numbers added to records, or leave blank to allow any format.
Allow Main List Drag
Setting this to Yes will allow you to drag and drop candidates through the submissions workflow, see the Job Record | Submissions article for more details on this workflow.
Card View Limit
This can be set to various increments from 50 to 1000 to limit the number of cards you’ll see in a card view, for example when viewing Company, Lead & Job record views.
Note, setting this to a high number may impact performance when loading card views.
Company Logo
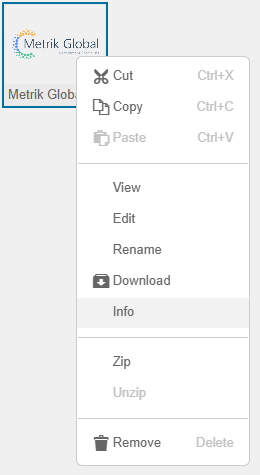
This is the logo that will display on the Contact Portal and Job Lite sites. This logo will need to be saved in your Media Library, form where you can copy the location and paste here. To gain the location right click on the image (in the Media Library) and choose Info and copy the Path shown.
App Logon Background Colour
Here you can choose the background colour for Jobs lite. Either add in the Hex number or click on the coloured square and select a colour.
Default Timezone
This sets the default time zone for when a record is created in the system.
Note, this differs from the Users Time zones (in My Settings) which is the time zone at which activities etc are displayed.
Confirm below leaving Unsaved Records
It is recommended this is set to Yes so that unsaved data is not lost.
Default Activity Settings
More details around using Activities can be found in the Activities article.
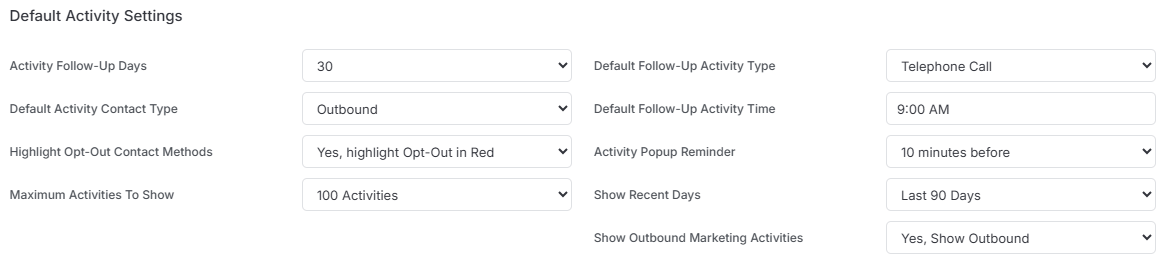
Activity Follow-Up Days
Set the number of days for an activity workflow follow up/reminder to default to.
Default Activity Contact Type
When creating a new activity set the Default Activity Contact Type to either Outbound or Inbound
Last/Next Activity View
When viewing Record Lists there are columns available showing Last & Next Activity, here you can choose if these show both the Date and Subject of the Activity, just the date or just the subject.
Highlight Opt-Out Contact Methods
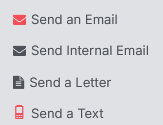
If a record has Opted Out of Phone or Email, when viewing the action menu on that record these items will be highlighted in red.
Maximum Activities to Show
When viewing Activities via the Activities area (as opposed to on a record) set the maximum number of activities to show.
Default Follow-Up Activity Type
Set the default Activity Type for an activity workflow follow up/reminder.
Default Follow-Up Activity Time
Set the default time for an activity workflow follow up/reminder.
Activity Pop Up Reminder
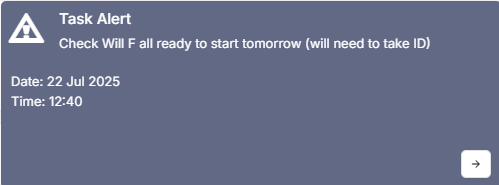
Set how long before a future Activity you’d like onscreen pop up reminders to appear for relevant Activity Types.
Show Recent Days
When viewing activities on a record send the number of days to show by default. Though, whilst viewing a record you choose to view more or less on that occasion.
Show Outbound Marketing Activities
This setting give control over how marketing activities appear across records and views. For teams doing a high volume of outbound marketing, activity logs can quickly become cluttered, making it harder to see genuine interactions and pick up where you left off with a contact. These changes put you back in control, so your activity data reflects what actually matters. Here you can choose to show outbound marketing activities (the default) or limit the view to inbound only.
Default Email Settings
Here you can set the various defaults for your itris email, including fonts, colour and size.

Naming Conventions
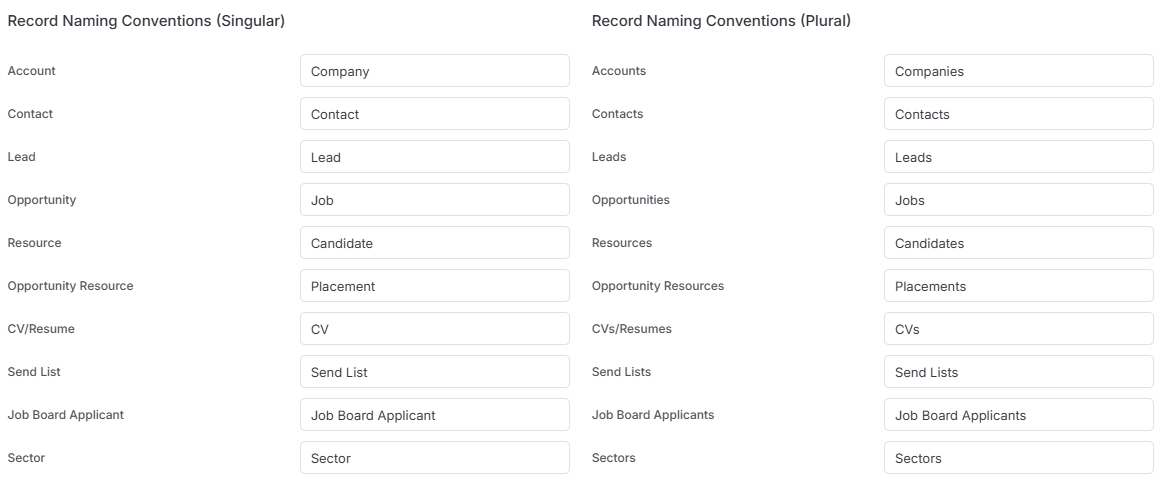
This allows you rename various parts of itris into your vernacular. For these you can add both singular and plural versions of the terms you would like to use.
This can be done for:
Record Names
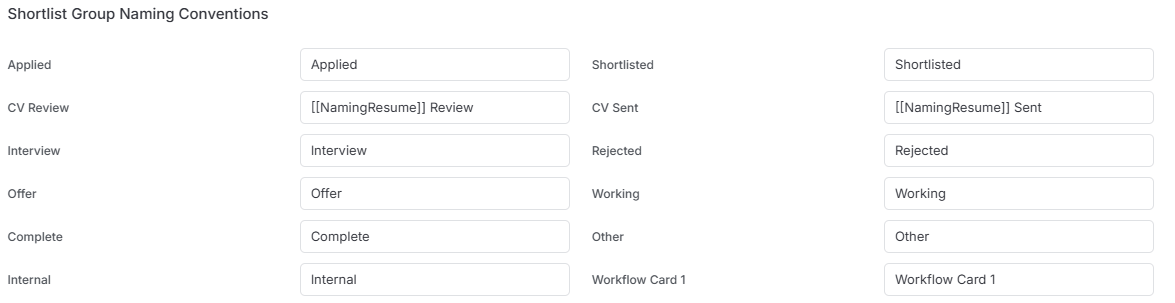
Shortlist Group Names
These are the Submissions levels, though it is advise to not rename Shortlist, CV Send, Interview as these have linked system functionality such as Placement Status Events.
Workflow card 1 is handy in that it can be renamed and repurposed for any additional workflow (e.g. Offboarding temps).
Other
Includes Postcode/Zip code, Mobile/Cell and more.

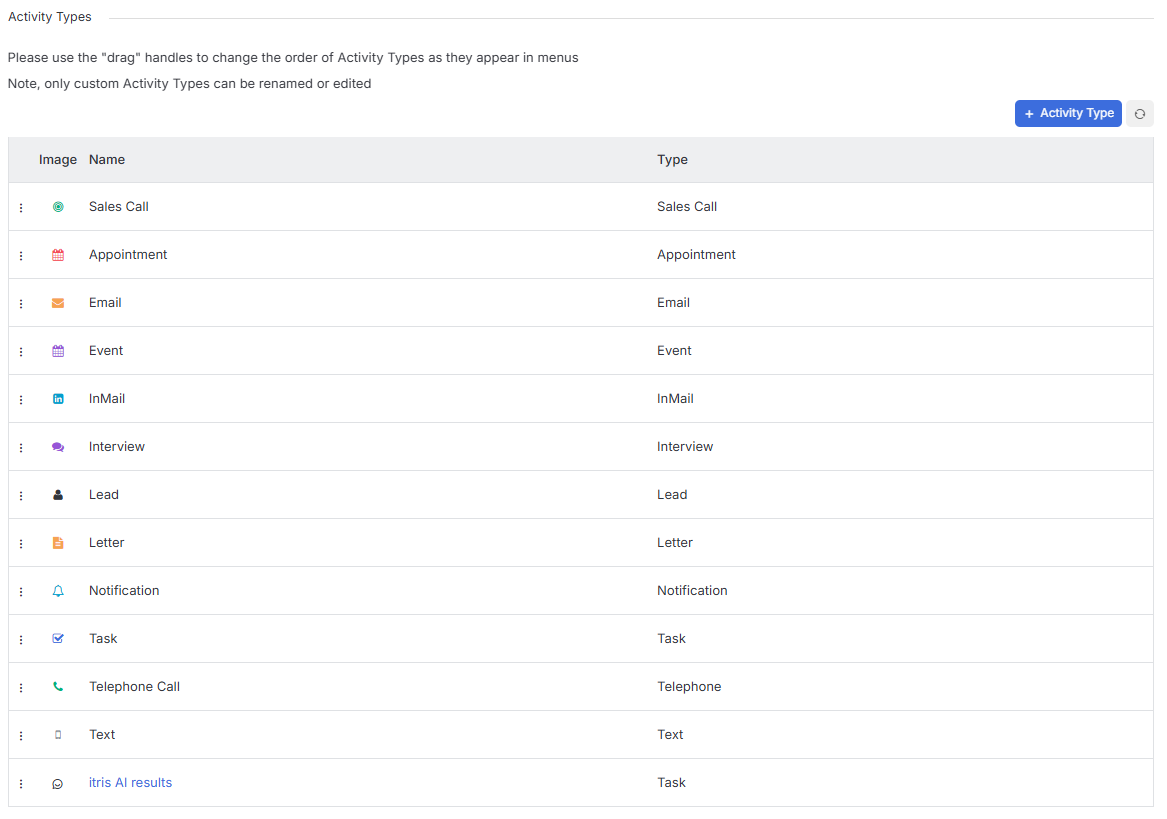
Activity Types
Here you can create new Activity Types as required, selecting an appropriate image icon and colour to go with them. You can also arrange the order of Activity Types as best suited to your workflow by using the 3 dots to drag and drop into your preferred order.
Custom Activity Types name text will appear here in blue, system types will appear in black text.
Though you can delete custom Activity Types, you will not be able to delete the System types.
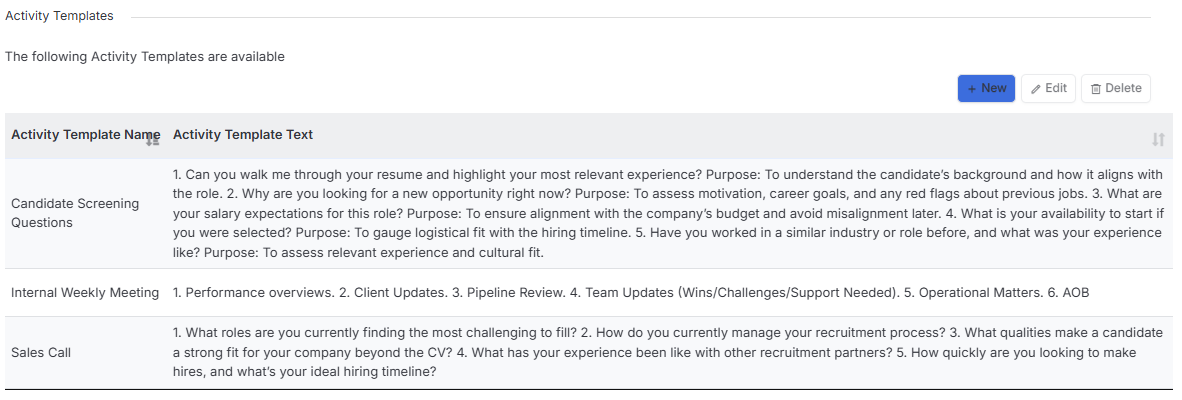
Activity Templates
Create an manage Activity templates to aid in efficiency and time saving, especially if have lots of activities that follow the same format, in which case these can aid as helpful prompts, examples of how you use these might include screening questions, sales calls and more.