Introduction
itris includes a comprehensive set of standard reports, including Activity reports that provide immediate insights into your recruitment processes. You can build upon these foundation reports by creating new ones from scratch or cloning and modifying existing reports to meet specific requirements.
Once configured, reports offer flexible usage options:
- Dashboard integration - Add reports directly to your Dashboard for quick monitoring
- Export functionality - Download reports in various formats for external use
- Email distribution - Set up automatic email delivery to stakeholders
Reports can be organized into folders for better management. While itris provides default folders, you can create custom folders or rename existing ones to match your organisational structure.
Access to report folders is controlled through User profile settings in Tools & Settings. This allows you to restrict sensitive information, such as management reports, to specific team members or senior leadership while ensuring each user sees only relevant reports for their role.
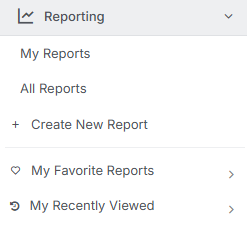
Reports are access via the Menu Bar.
Creating New Report
New Reports can be created via the option in the Menu Bar, or if you are already in the Reports area via the New Reports button or by Cloning an existing report (see the Viewing Reports section below).
Once you click New Report an arrow will appear on screen to guide you through the steps to create the report.
Report Views
Step One is to choose what time of report you want to create from the available Groups. Clicking on a Group expands to show the available Report Views within that category. Each Report View contains different fields for display and filtering, depending on the specific data source it draws from.
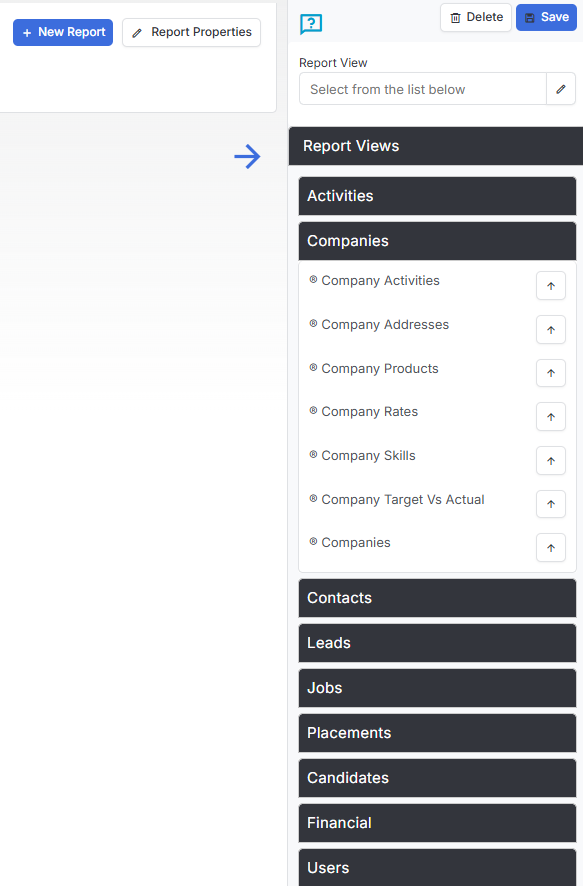
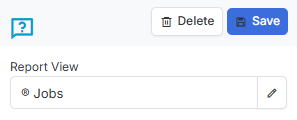
Once selected this view will be shown in the Report View field. The edit (pencil) icon at the end of the field allows you to edit this view at anytime.
Report Layout
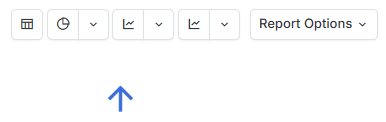
The arrow will have now moved to Step Two where you choose the layout. It is often easier to start with the table view for a clearer perspective on the data you are adding to your report. Later, if relevant, you can change the layout to Pie, Column or Line graph to better visually display your data.
Report Columns
Step Three is to choose the Report Columns (data) to pull into your report.
These are displayed in Groups on the right and it is likely you will want columns from more than one Group.
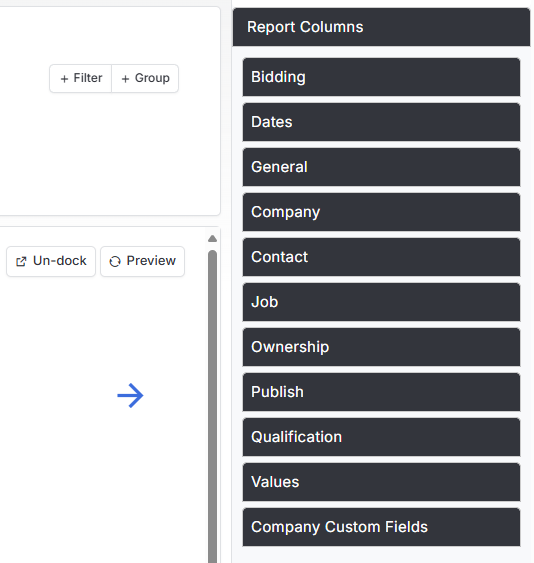
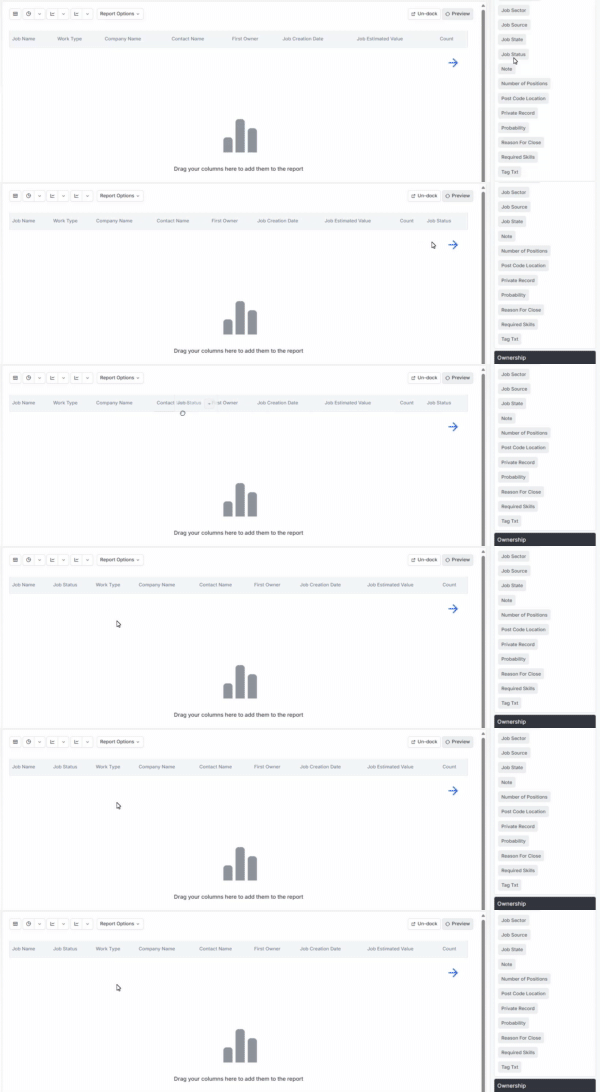
Report Columns can be dragged and dropped into the report space on the left and will display left to right in the order that you add them. Once added they can be dragged into a different position if required.
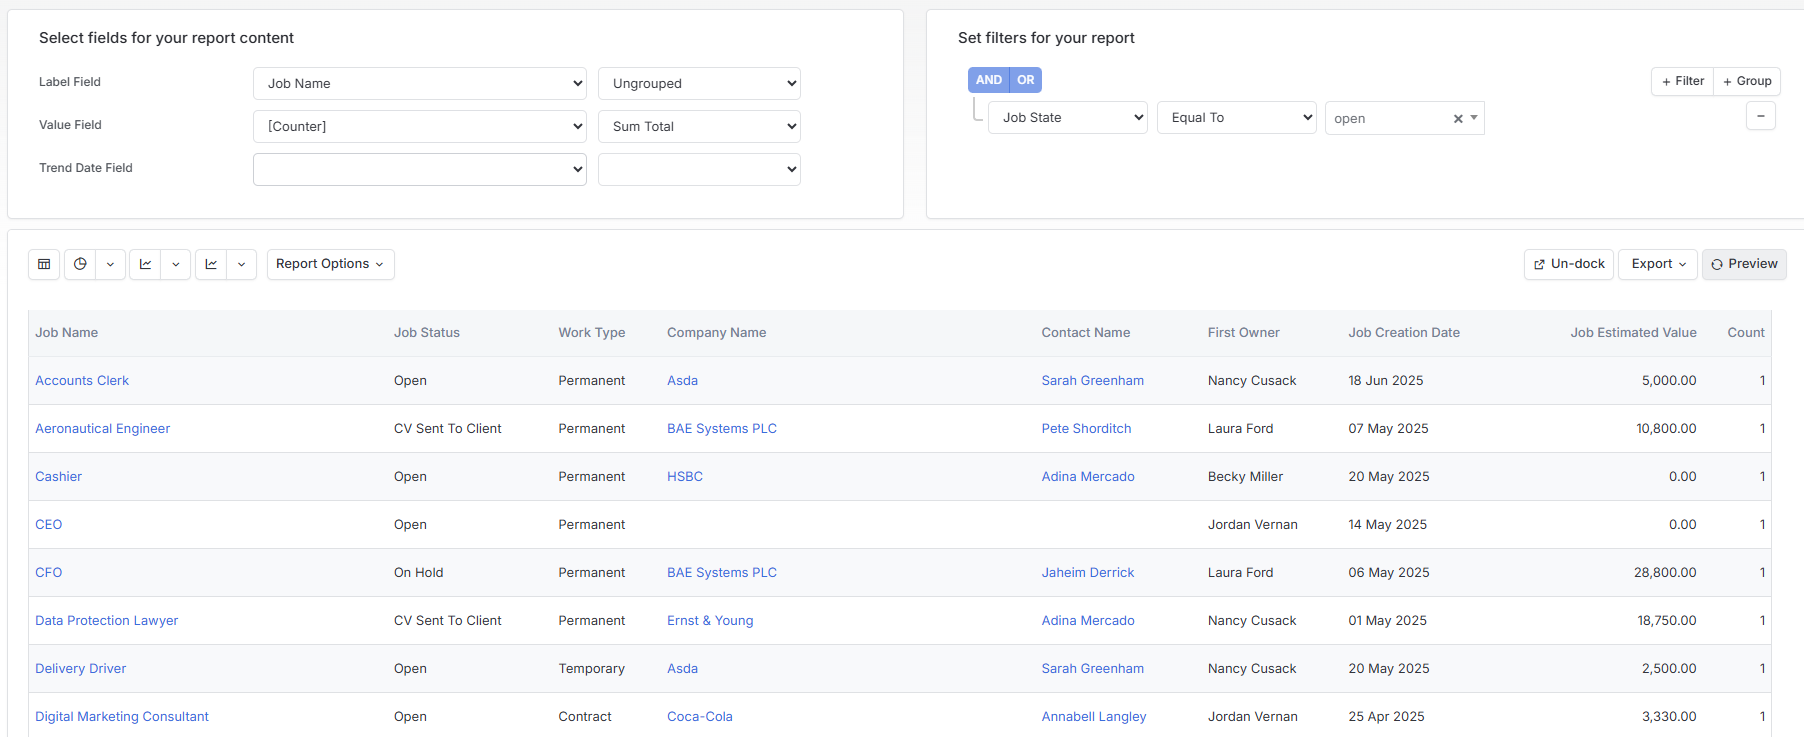
From under the General Group the column Counter (will show as Count once added) is a useful column to add, for example in the report shown below this would allow you to count and total Jobs by company.
Report Filters
Step Four is to choose the Filters to add so that you can be specific on the data to display, in the example of the report above on Jobs it could be that its relevant to only report on Open jobs.
To add a filter click the + Filter button and choose the data you want to filter by.
The parameter you filter on does not have to be a column added to the report, but will be on of the available data you can add.
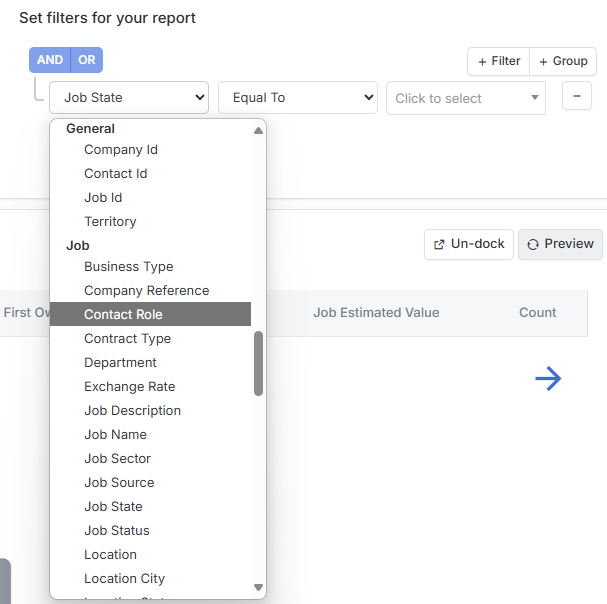
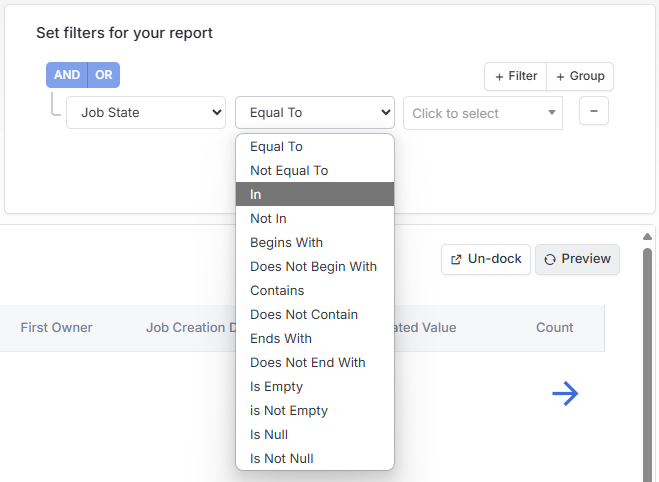
Once a parameter is set, you will need to say how the value will be treated, for example will the value need to Equal To, be Empty, or Contain. Options such as Equal To or In will display predefined values to pick from.
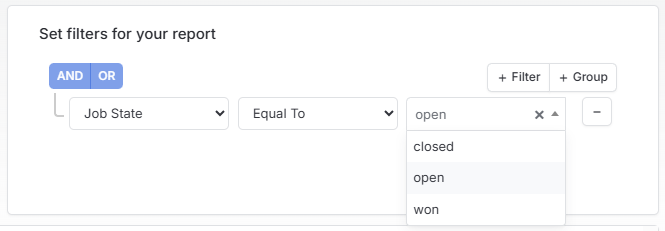
Finally, you will need to pick the value(s).
More than one filter can be added to a report, and filters can be Grouped so that AND or OR criteria can be applied to those Groups. See the Further Filter Options section below for more details.
Preview
You can now Preview your report.
The table will populate with the results.
Report Content
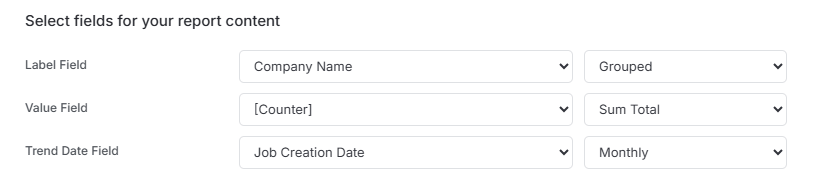
Each change in Report Content will require a refresh of the data via the Preview button.
Label Field
This allows you to Group Columns on the report, for example on the Job Report shown above you may want to Group the Jobs by Company Name.
Value Field
In conjunction with the Label Field you can for example Total the Jobs by Company. Other options include Average, Count, Minimum, Maximum.
Trend Date Field
In order to use this option at least one date column will need to be added to the report. This field then allows you to look at Trends over time, e.g. by Day, Week, Month, Quarter, Half Year or Year. Using this field will also add a date filter.

Column Options
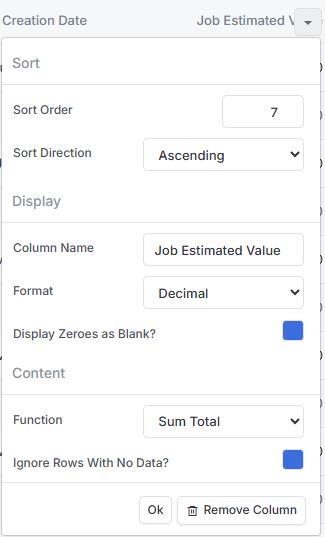
Each Column has drop down options including:
Sort Order - this does not have to match the order of the columns, for example in regard to the example Job report you may wish to order by Company name rather than Job Name so that Jobs from each company are together.
- Sort Direction - choose from Ascending or Descending.
- Column Name - you can choose the name given to the column should you wish.
- Format - this will be available on numeric fields.
- Display Zeros as Blank - this will be available on numeric fields.
- Function - relevant for numeric fields, you have options for Sum Total, Average, Count, Minimum, Maximum
- Ignore Rows with No Data? - this will be available on numeric fields. Helpful for keeping the data tidy.
- Remove Column - remove from table, you can always readd via the Groups on the right.
Report Views
Before Saving your report you may wish to change from a Table to one of the Pie, Column or Line/Area options.

Report Options
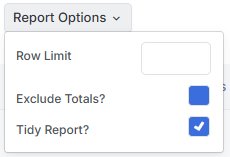
Here you can set a Row limit, Exclude Totals and choose for itris to Tidy your report automatically.
Report Properties
Report Properties is the area to the right where you choose your columns from, Save or Delete your report.
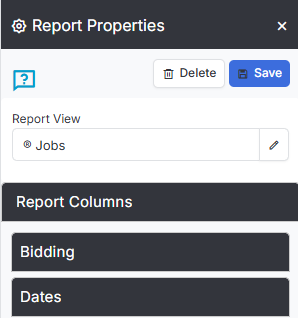
When you come to add further columns, deleting or saving your report, if the Report Properties area has collapsed you may need to open it via the Report Properties button.
Saving a Report
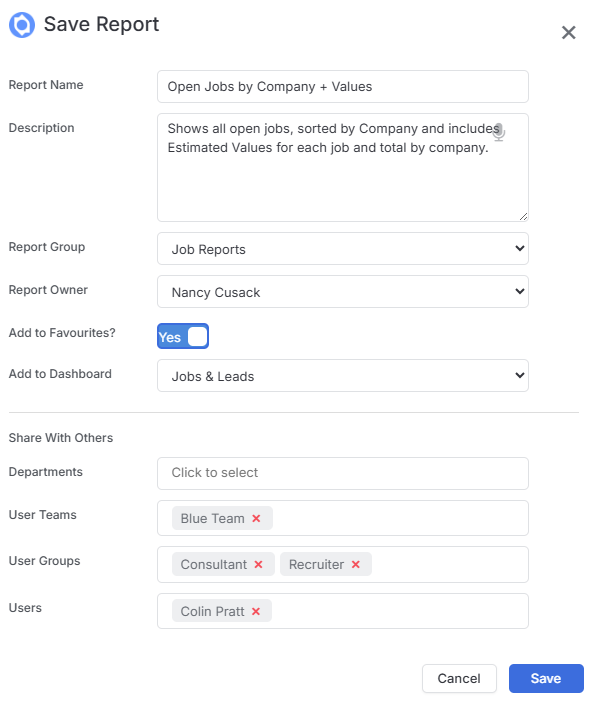
When saving a report, you will be able to give it a name and description as well as add to a Report Group (aka folder), change the owner, add to a Dashboard and share.
The Report Owner will be the only person that can make changes to the report (without cloning it).
Further Filter Options
Example One - In
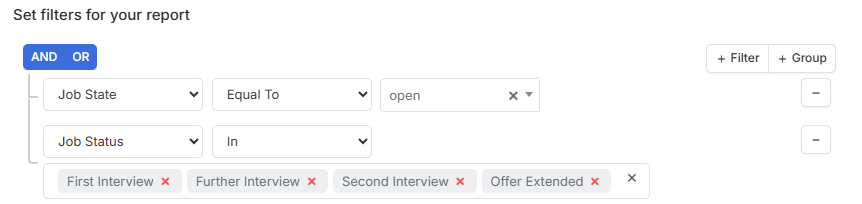
In the example above the report was only filtered to Open Jobs, but it might be you want to be more specific than this, for example you want to only see jobs at First Interview or above.
Therefore, once the Job Status field is added the treatment ‘In’ means I can add one or more values, in this case the report will show Open jobs that are at First, Second, Further Interview or Offer.
Example Two - Groups
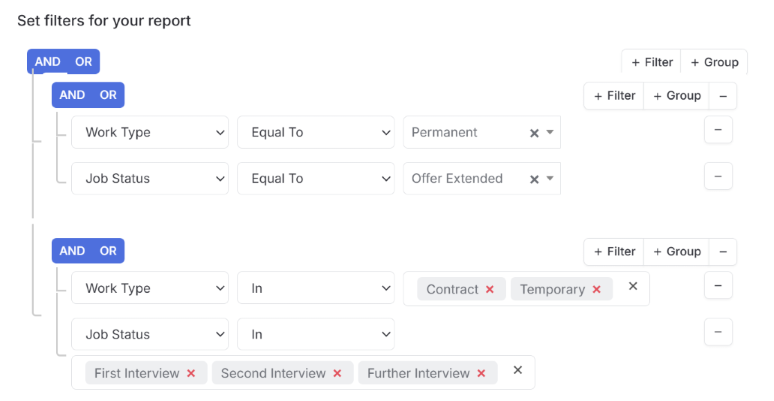
Sometimes you might want to do an OR between two sets of data, for example, you might want to see all Perm Jobs at Offer AND Temporary jobs at Interview (as they are unlikely to have offers extended in your workflow. This is where Filter Groups can be used and set as an OR between those two groups so the results would only need to match one.
Viewing Reports
Saved reports are arranged via folders which display on the right-hand side of the reports area. The Folders visible to you will be those you have been given permissions to view. There is a filter at the top to help you find a report.
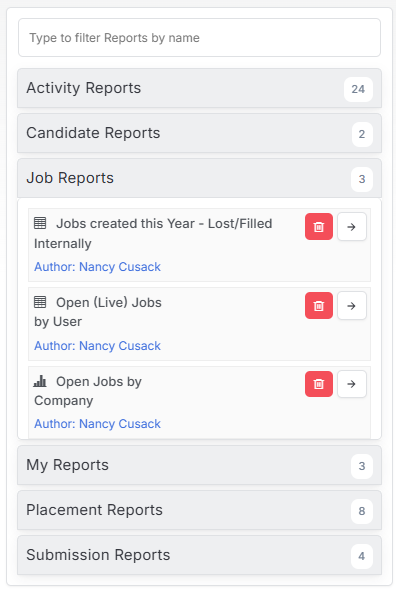
If the report belongs to you, once you are viewing the report you will have the option to Edit the report.
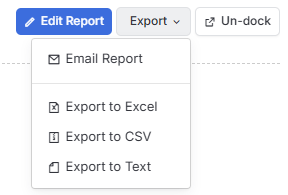
When any user viewing a report will have options to Undock, and those with permissions to Export or Email the report.
If you are not the owner of a report and wish to make changes, whether to the columns, layout or how it is displayed you will need to first click Change Report and then Clone.

Report Admins
Report Admin is a user permission that allows the user to Claim any report as their own or delete the report. Please see the article Tools & Settings | Users for more details.