Introduction
Lists are available throughout itris, with some common functionality between them, you will find lists in areas such as the following:
- Record Views
- Activities
- Contacts
- Dashboards
- Reports
For this article we will specifically cover Record Views, however a number of the functionalities shown here will also be possible in other lists.
Record Views
Record Views are different ways you can view and find records. You’ll find these in the submenus for the different record types (e.g. Candidate, Company, Contact, Lead, Job, Placement).
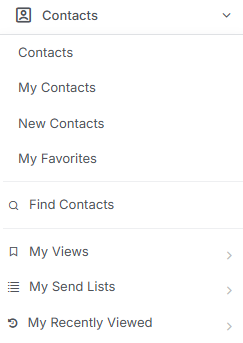
Using Contacts as an example the submenus will typically show:
My Contacts
Where you are the owner of the contact record.
New Contacts
Contract records added in the last 7 days.
My Favorites
Contract records that you have marked as a favorite.
Find Contacts
Search for contact records based on criteria, or view all contact records. See the article Find Records (Searching) for more details.
My Views
Once you have run a Find you can save that view. Saved Views then appear in your My Views area.
These lists are dynamic, this means for example if a record is added or edited so that it matches the criteria associated with the Find, the record will automatically be added to the saved view.
Views can be Saved, Shared with other users and Deleted, see the article Find Records (Searching) for more details.
Additionally, Saved Views can be added to Dashboards.
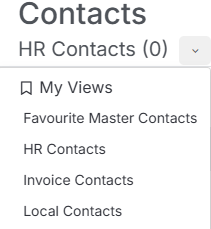
In addition to navigating to a My View list via the Main Menu, once you are in a View you will be able to use the drop down under the View name to navigate to other Saved Views.
Additional Placement Views
Under Placements you will find both Shortlist and Workers views, see the article Placement Record | Shortlist Pipeline & Workers for more details.
Shortlist View - shows a view of your entire recruitment process, allowing you to see exactly where every candidate sits across all your active roles and submission stages.
Workers View - allows you to access a list of workers for a given time period.
My Send Lists
Where View Lists are dynamic, Send Lists are Static lists, and are often used for Call Lists or Reports. In terms of Reports, using Send Lists here allows you to get large pre-made lists into a report quickly. Send Lists are found under the Marketing view within reports.
Candidate and Contact Records can be added to Send lists individually via the records action menu or via the bulk actions button once records are selected via the tick box.
My Recently Viewed
This shows the last 5 records of this type that you viewed. This is a rolling list with the most recent at the top.
Filter
With in the majority of the Record Views mentioned above (the exceptions being Send Lists & Recently Viewed) you will have a Filter panel on the right hand side of the screen.
When using the Find options this panel will open automatically, for all other views it can be opened via the Filter icon in the top right. This same icon will also collapse the the filter bar.

The filter is akin to a search with a plethora of criteria to choose from, options will differ per record type. Once you hit Go there will be the option to Save View and Share with other users (as mentioned in the sections above).
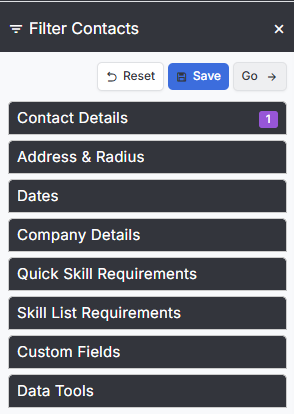
For more details on using the Filters to find records please see the article Find Records (Searching).
Export
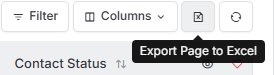
If you have permissions to you will have the option to export you View via the “Export Page to Excel” button.
Paging
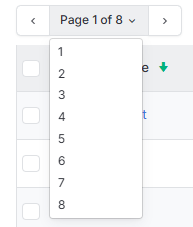
Where the number of records in your view exceed the maximum set in Tools & Settings | Display Settings, your results will be paged. You can navigate through the pages one at a time with the back and forward buttons, or use the drop down to select the page you wish to go to.
Record Counts
A count of how many records are in your view will be displayed next to the view name. If this is not a saved view the name will appear as ‘Search Results’.

Sorting
Be default all lists will be listed by the primary item, e.g. company records will be listed by company name, contact records by contact name etc in ascending order (e.g. A is at the top of the list). With jobs they will be sorted by Job Id in descending order, therefore the newest will be at the top of the list. Any column against which the sort icon (arrow) will be sortable.
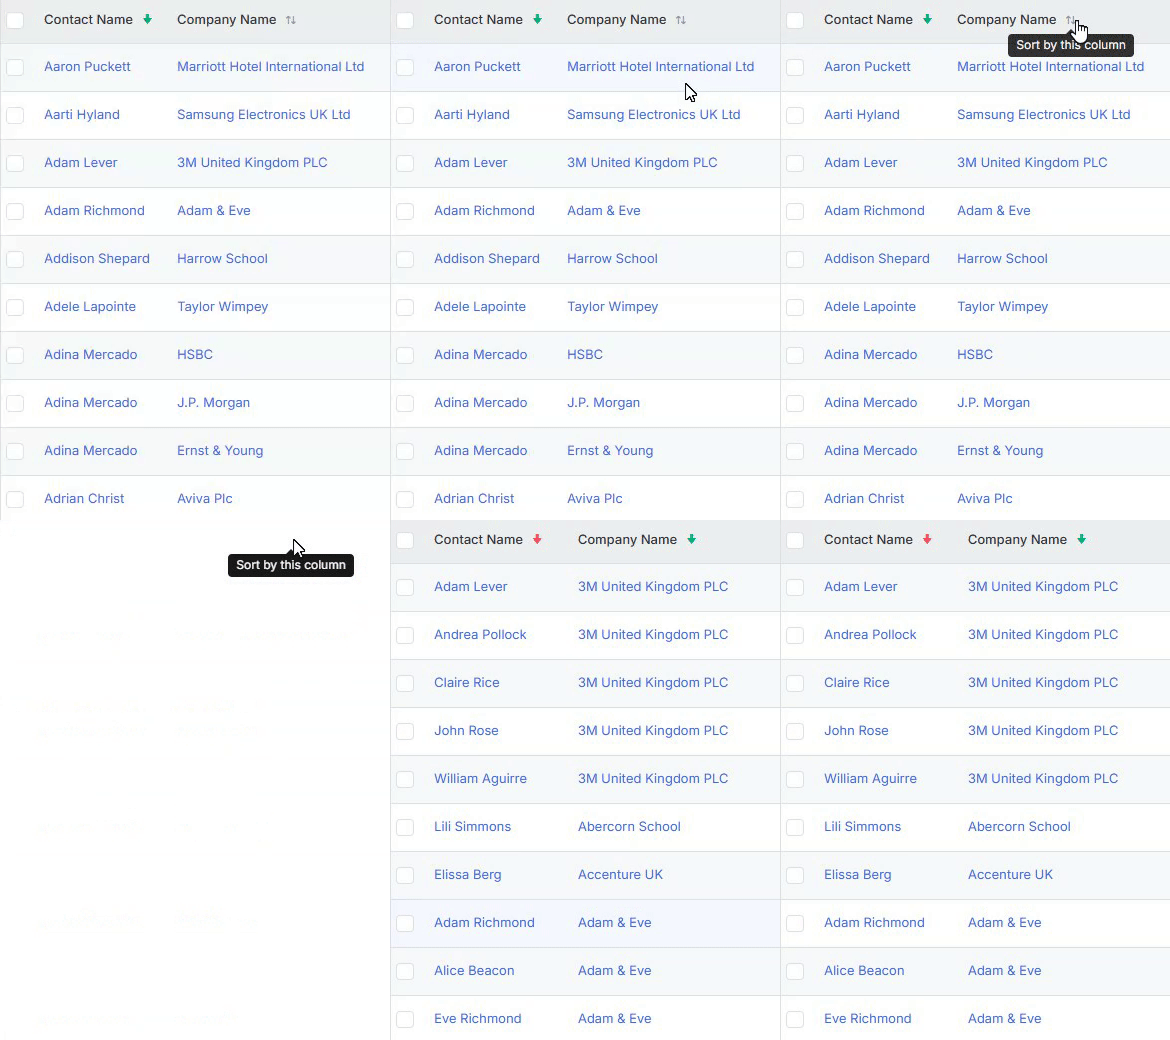
You can use the sort option next to the primary column in the header to reorder your lists between ascending and descending. The arrow direction will indicate the sort order.
Additionally, you can have two level sorting (one sort within another). The first level sort column will show with the green sort arrow, second level sort will show with the red arrow. When clicking on a new column, the last sorted column will become the second level (retaining its ascending/descending order).
Managing columns
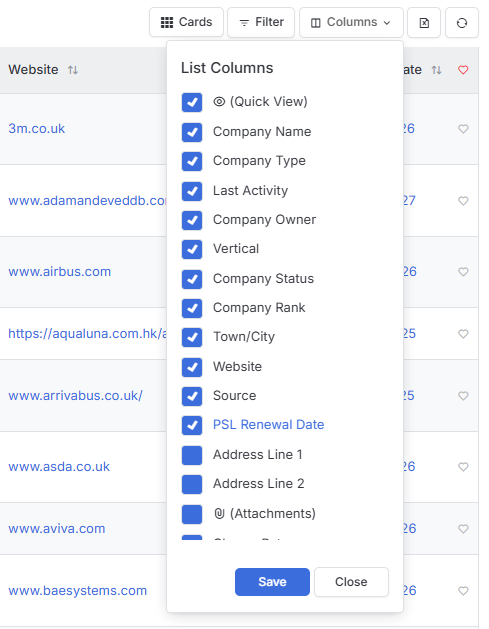
To allow you to see the data that is most relevant to you, additional columns can be added to your record views, and the order of the columns (left to right) changed.
Columns are added and removed via the Columns button.
Custom Fields for the record type you are viewing are available as columns to add and are shown in blue text. Once added as columns their values are editable in list view.
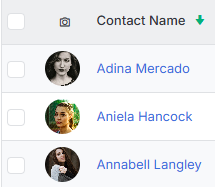
For both Contact & Applicant records you can add their photo as a column which helps with quick/easy recognition.
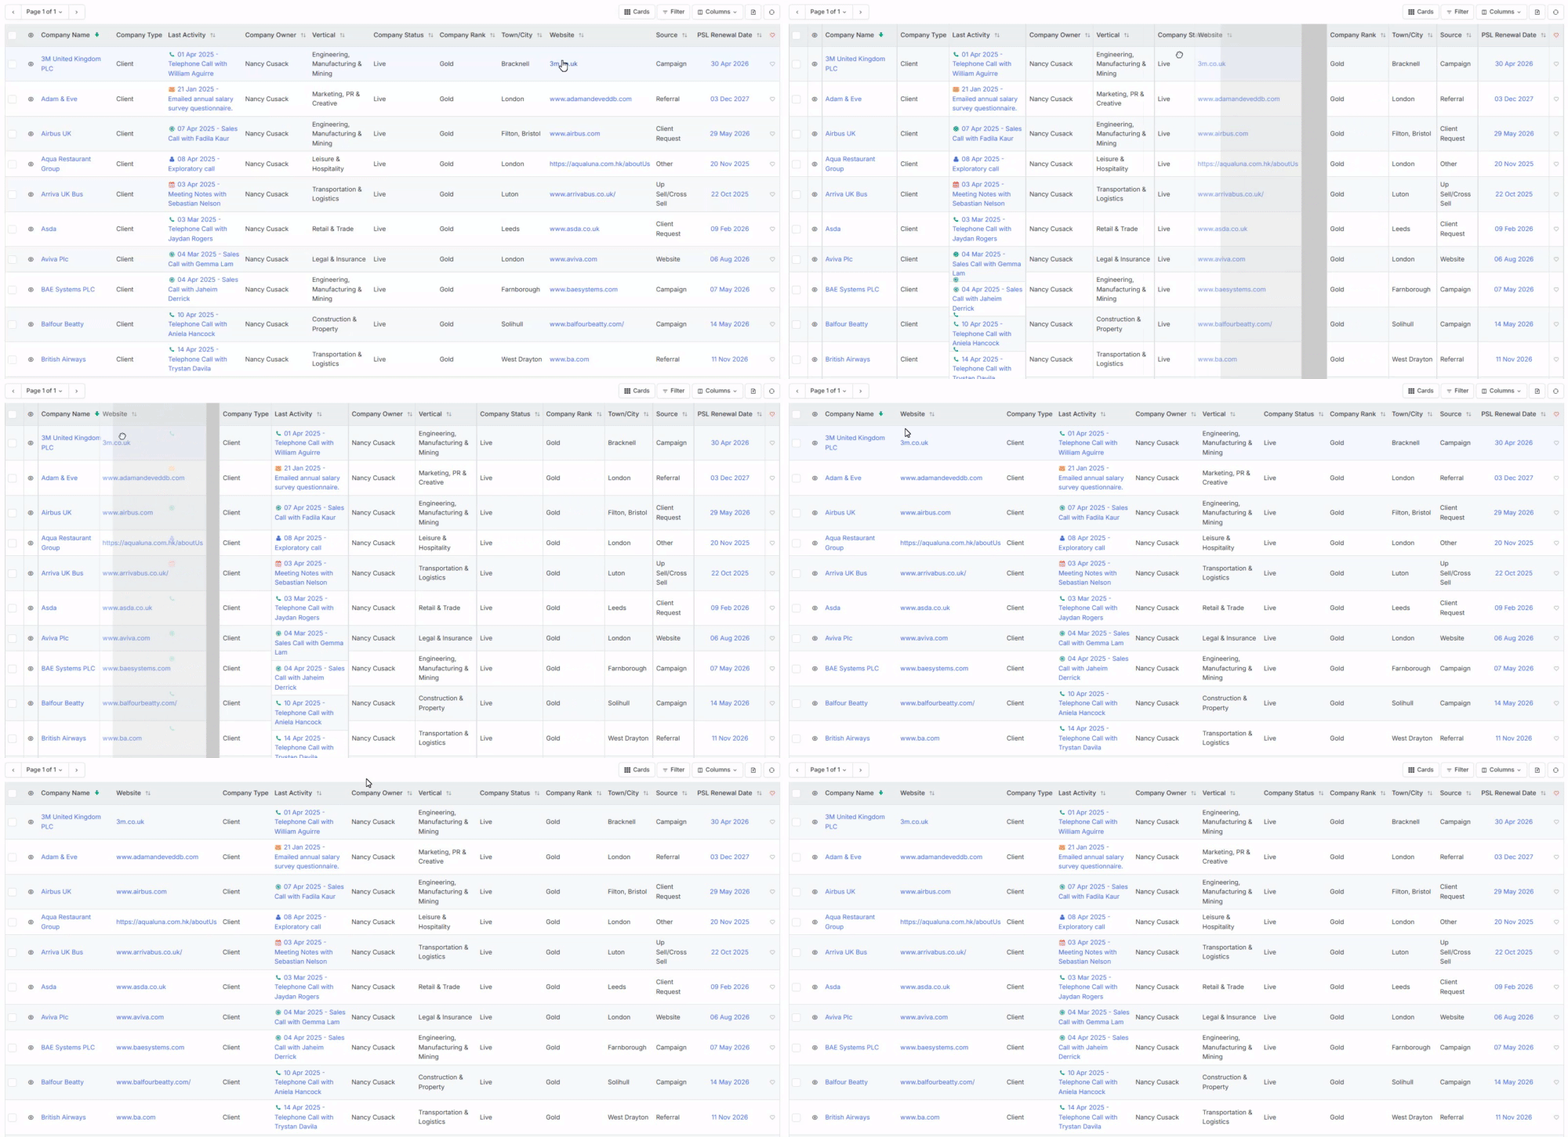
Columns can be dragged into any order you desire.
Quick View
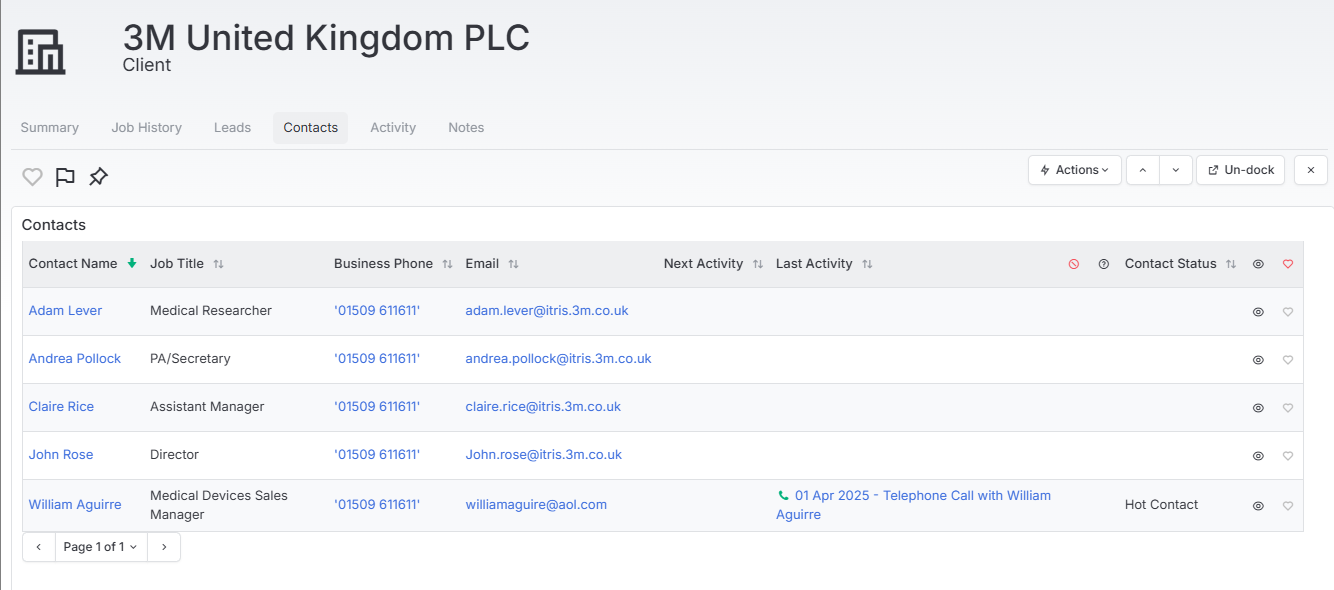
Use the Quick View icon to open a side panel displaying some key information about the record, and also allowing
There are multiple tabs, which will differ per record type.
Useful Icons
In addition to Quick View there are other icons you can add to column or that you will see in the list.
Tag - Where a Candidate, Company, Contact, Lead or Job record has tag text added to it this Pin icon will display next to the record name. See the Navigation article for more details on Tags.

Off Limits - Where a Candidate or Contact has been marked as Off Limits the stop sign icon will show next to the record name.

Marketing Preferences - Shown on Candidates and Contact records these icons show the Marketing, Email, Mobile & Phone preferences that are marked as Opted Out.

CV - Available on candidate records. click this icon to download a copy of the candidates original CV. The icon will represent the format, e.g. Word, PDF etc.

Attachments - Hovering over this icon shows how many attachments against that record.

Favourites - This shows where you have Favourited the record. This is also an inline edit meaning you can click the heart icon to add or remove the record as one of your favourites.

Parent Company - When a Company record is set as a Parent it will have this icon.

Role - Contacts can be give a Role, this is a list you determine as a business. Each role can have a different icon and its the icon linked to that role that is displayed, which tells you a little more about that person, for example are they are Gatekeeper, Champion etc.

Primary Contact - Each company record can have one Primary contact, denoted by this icon in Contact Record view.

Long List - Available on Job Record views these coloured shapes and numbers represent the RAG rating of candidates Longlisted to that job. See the Job Record | Longlists article for more details. These provides a very quick overview of the candidates longlisted without having to open the record.

Short List - Like the Long List above, this is available on Job Record views, but in this case in both the List and Card views. This gives an overview of how many applicants are at each stage of the submission process, without having to open the record. See the article Job Record | Submissions for more details.
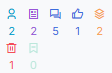
Published - These icons show whether your job is published to your website and to job boards (the latter being applicable for users with the Job Board module).

All Jobs - The All Jobs column is available on the Candidate Record View and allows you to see the statuses achieved against jobs the Candidate has previously been submitted to, for example Shortlisted, Interviewed Rejected etc.

Card View / Kanban
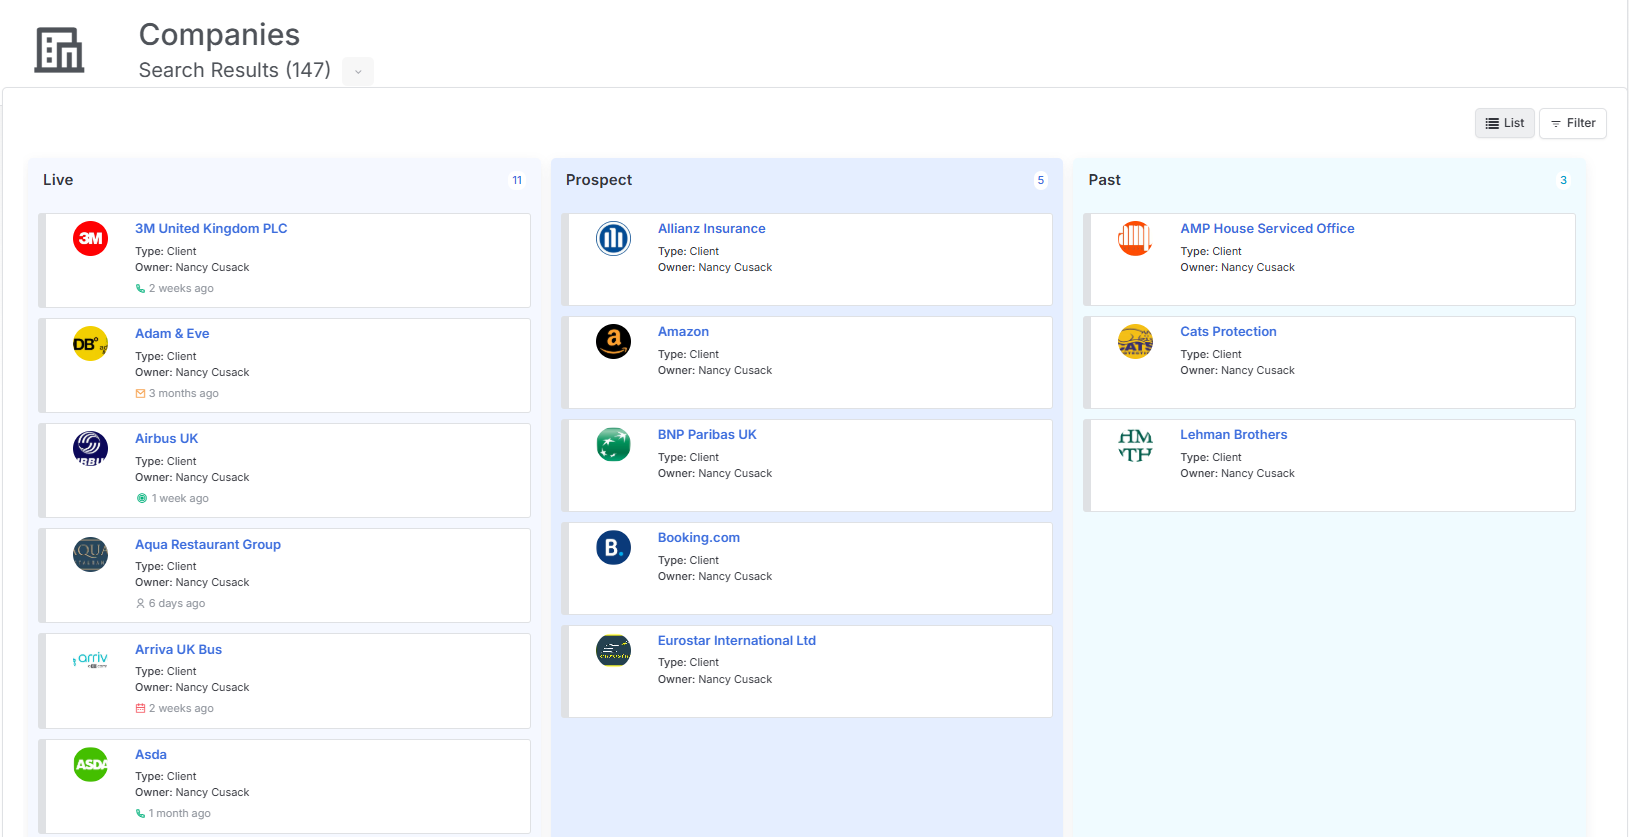
With Company, Lead & Job views you have the options to view as either a list or Cards. The Card view is basically a Kanban board that will update as the records progress through different statuses (e.g. through the submission process).
The Job Card view will show the Factored Value, this is a pipeline calculation for submission stages, see the Tools & Settings > Placements article for how to set these.
To view company records in Kanban format, you’ll need to have more than one Company Status set up first. You can easily create these by heading to Tools & Settings | Company Settings.
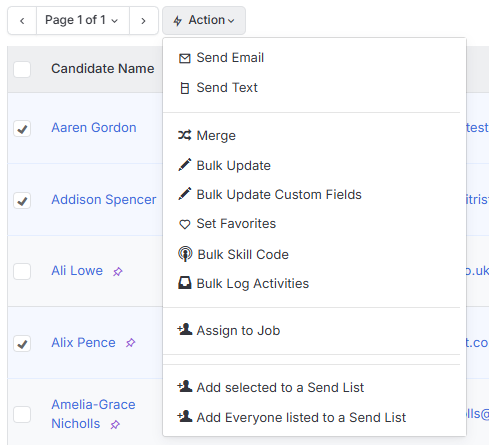
Actions
Selecting (ticking) one or more record in a list will show the Actions button. The options available here will differ pre record type, but examples of the actions you can take include (but not limited to):
- Bulk Email
- Merge Records (e.g. where they are duplicates)
- Bulk Updating, this includes fields such as Statuses, Types, Owners and Custom Fields
- Bulk Skill Coding
- Bulk Logging Activities (e.g. you left a voicemail for multiple candidates in the list).
- Add to a Send List