
Introduction
When you’re getting started with itris or expanding your database, knowing how to create new company, contact, lead, job, and candidate records is absolutely essential. Below you will find guidance for each type of record and show you the quickest ways to add them, so you can start building that valuable recruitment database that’ll make your life so much easier. New records are the building blocks that’ll power everything else you do in the system.
As creating new placements is part of the recruitment workflow it is covered in the article Job Record | Submissions.
Getting Started
The most frequently used starting point for adding new records is via the Add Record icon on the Productivity Bar.
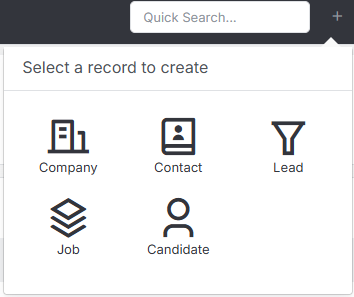
Once the relevant record type option is clicked a New record form will open. This will contain the system mandatory fields, and any additional Mandatory fields as set by your company. When saving a new record, any mandatory fields that have not been completed will be highlighted. See the article Tools & Settings | Mandatory Fields for more information on setting Mandatory fields.
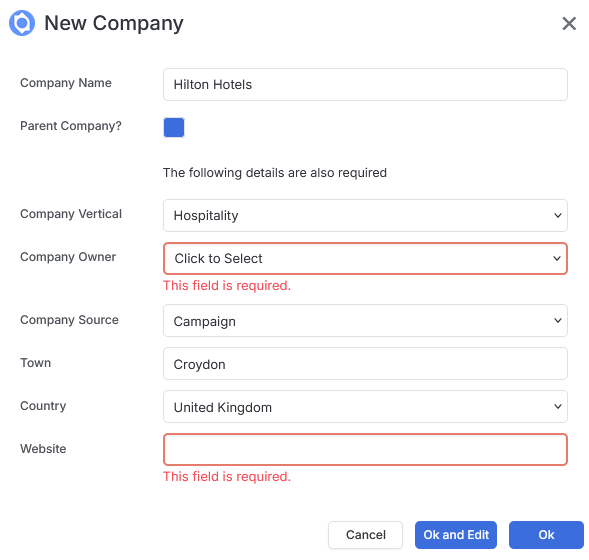
When saving the New Record form the option “Ok and Edit” will save the record and open it, whereas the “OK” option will create the new record and you will remain on your current screen.
Below is some key information about creating each of the different record types.
New Company
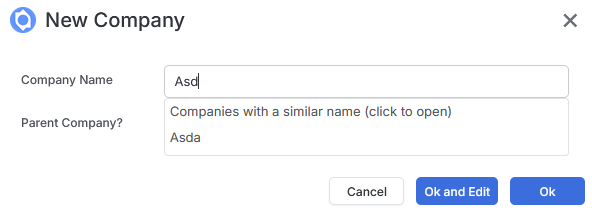
When creating a company record itris will duplicate check on the company name (exact match). If you start typing the new company name, if itris finds a match it will display it. Clicking on the duplicate company name will take you to that record.
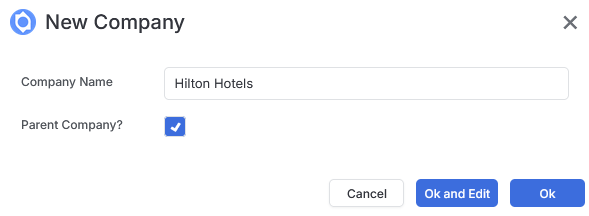
If the Company you are creating is a Parent Company you will need to tick to set this (don’t worry if you forget, you can always edit this via the Companies Action Menu, see the article Company Record for more details).
New Contact
At the point of creation Contact records will be checked on email and mobile number. As these are not fields required by itris for creating a contact record, you may want to set these as Mandatory Data so this data is captured for duplicate checking.
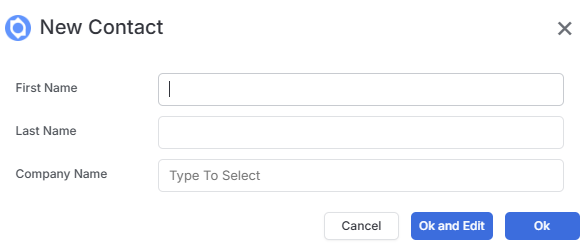
In addition from being created from the Add Record button on the Productivity bar, Contacts can also be created from the Contacts block on a Company record, in which case the Company Name will be auto-populated.

New Lead
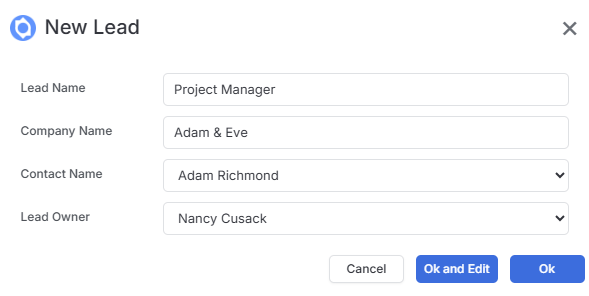
From the Productivity Bar New Record button Leads can be created and linked to Company, Contact and/or Candidate records, though these fields can be left blank.
Leads can also be created from Company and Contact records via the Leads block, in these cases (as with creating contacts from companies) the relevant name fields will also be auto-populated, and the created Lead will link back to those records.
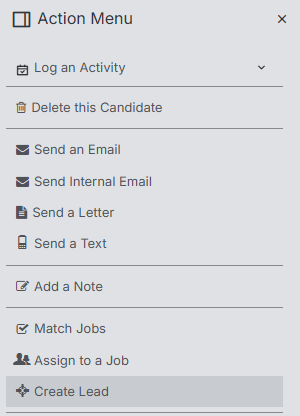
Additionally, Leads can be created from the Action Menu of Candidate Records. Creating a lead this route will not open a new record form, but will create the Lead straight away giving it the Lead Name “Created from [candidate name]”, and link back to the Candidate record.
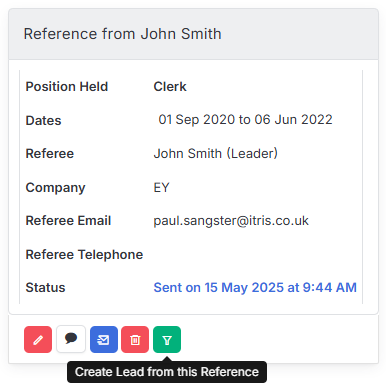
Leads can also be created from Candidate References.
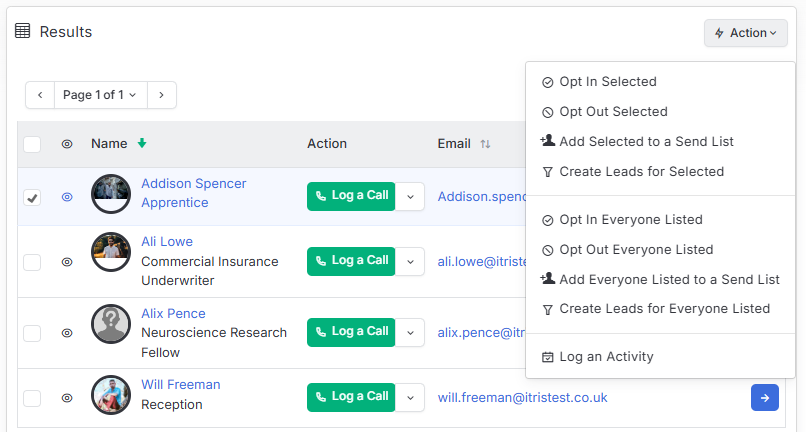
Campaigns can also produce Leads, therefore Leads can be created from Campaign Results from either the Log a Call drop down menu or the Action button when one or more recipients are selected. See the article Campaigns for more details
New Job
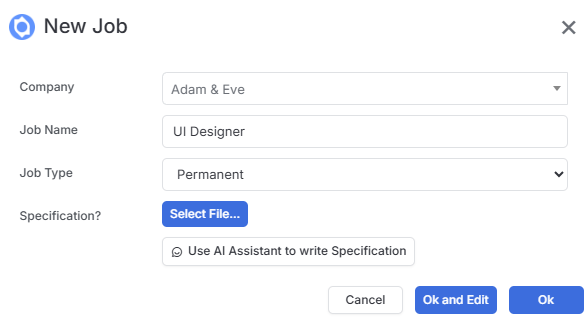
When creating a new Job from the Productivity bar’s New button you will at the very least need to give it a Job title, though can add further information such as Company, Job Type and Job Spec. Via this form you can Select a File to use as the job specification or use AI Assistant to write it for you, see below for more details.
Job Types are created and managed via your Tools & Settings and depending on how they are set up may pre-populate data such as length of contract, margin, pay/charge and more. Your default Job Type can also be set in Tools & Settings. To learn more on both of these see the article Tools & Settings > Job Settings.
New Jobs can also be created from the Jobs Block on Company and Contact records, again auto-populating those details when it does.

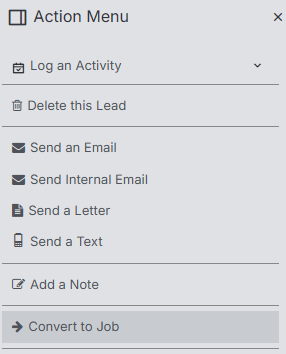
Leads can also be converted to Jobs via the Action Menu on the Lead.
Use AI Assistant to write Specification
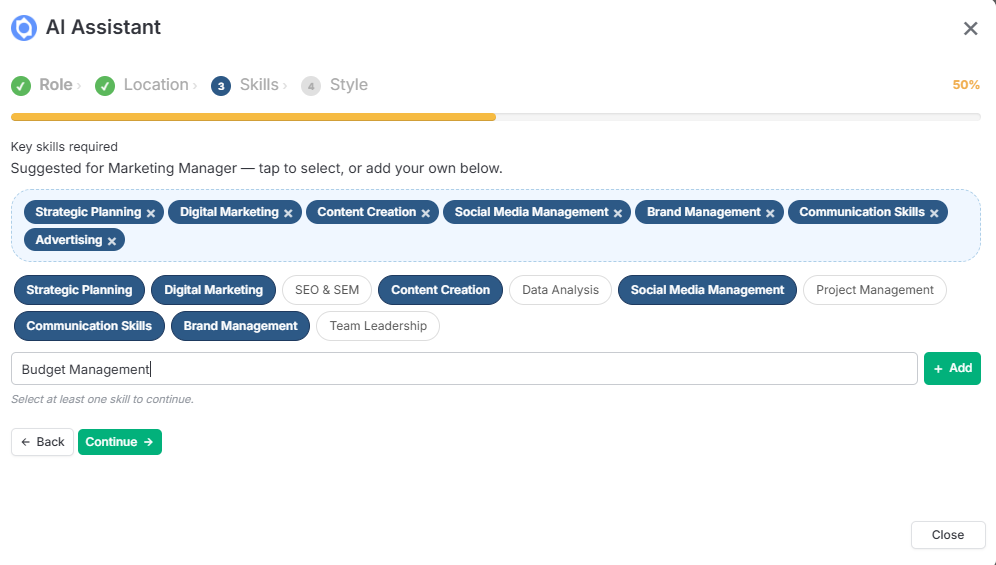
In the New Job form, select Use AI Assistant to write Specification to let itris build a detailed job spec for you. The assistant walks you through a short step-by-step process:
- Role - Job Title and Employment Type are pre-populated from the new job dialog, but can be edited here.
- Location - add a location and specify whether the role is Remote or Hybrid.
- Skills - itris will suggest relevant key skills to add to your specification. Click a skill to select it; selected skills move to the bar above and highlight in the suggestions. You can also type in Custom Skills - remember to click Add to include them.
- Style - choose the description length, add any additional content,
You can preview the AI prompt before clicking Generate Job Description.
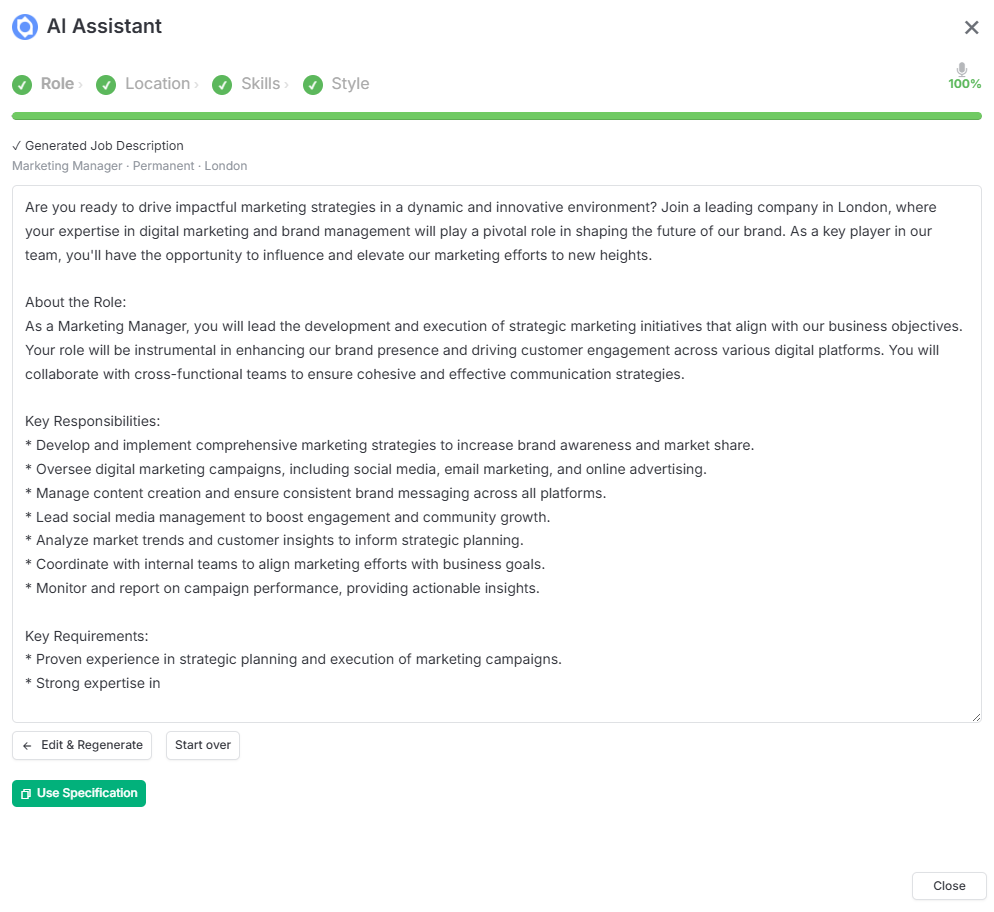
Once generated, itris displays the job description for you to review. Scroll to the bottom to choose to Edit and Regenerate, Start Over, or Use Specification.
New Candidate
When adding a new candidate record on, this can be done with or without a CV, for this route you would choose the Named button and complete the required name fields before adding.
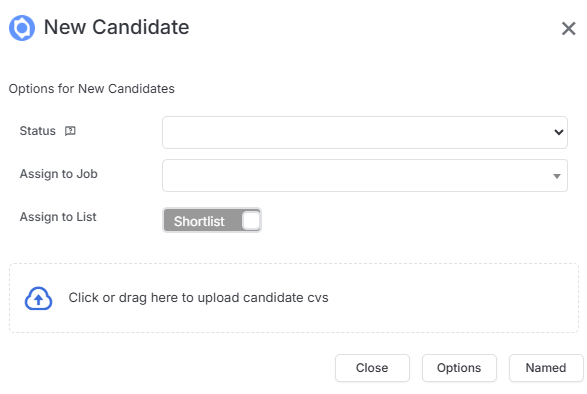
When including a CV, this can be drag and dropped into the CV area, or you can click here to navigate your folder system to locate the CV.
If you have more than one Candidate to add the Multiple CVs can be selected/dragged & dropped.
At the point of creation you can assign to a job as either Shortlist or Longlist (via the toggle).
Once the Candidates are added Hyperlinks to their records will be shown.
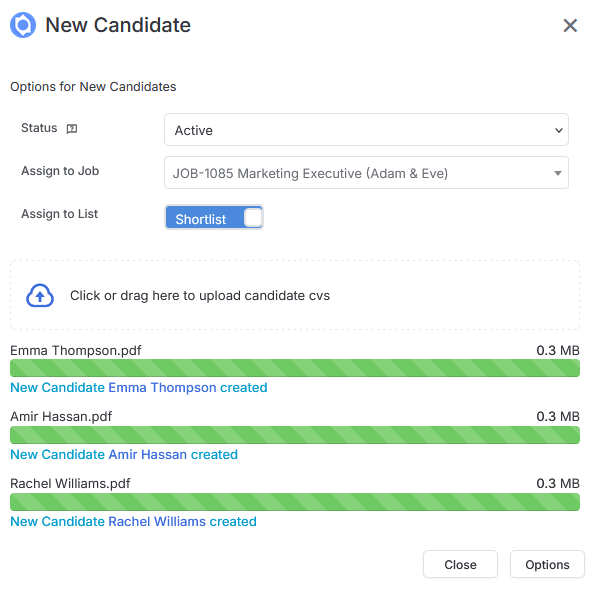
When creating new candidate records itris will duplicate check on email, mobile and LinkedIn URL. If a duplicate is found itris will update the record and provide a link to it.
