
Introduction
Designed specifically for service-based businesses, QuickBooks simplifies the complex financial workflows that recruitment firms face while providing clear visibility into revenue streams and profitability per placement. itris works with QuickBooks by syncing the invoice data between the two systems at the click of a button.
Set Up | Enable Plugin
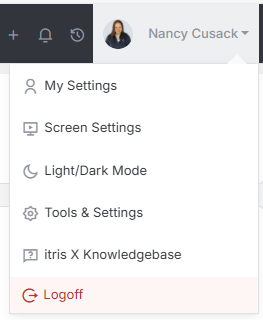
The QuickBooks plugin can be enabled either via a users My Settings or Tools & Settings > Users and selecting the user.
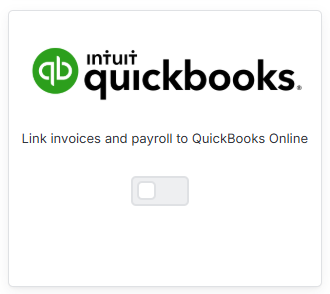
Within both of these areas you will see tiles for the various Integrations available.
The first step is toggle on the QuickBooks integration.
You will then be presented with a window asking you to Log into QuickBooks. Note you are also reminded that once you’ve logged in and completed the enablement of the integration there are some Invoice Settings to be completed in the Tools & Settings area.
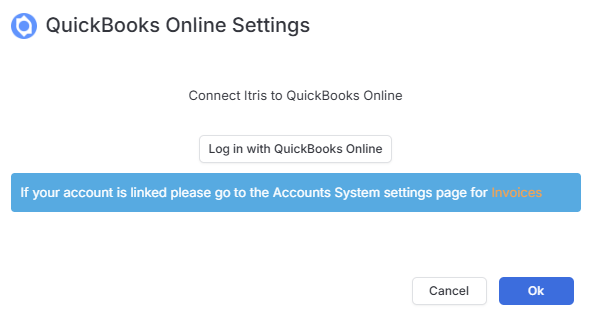
These following steps will only be required by the first user as these will save for subsequent users.
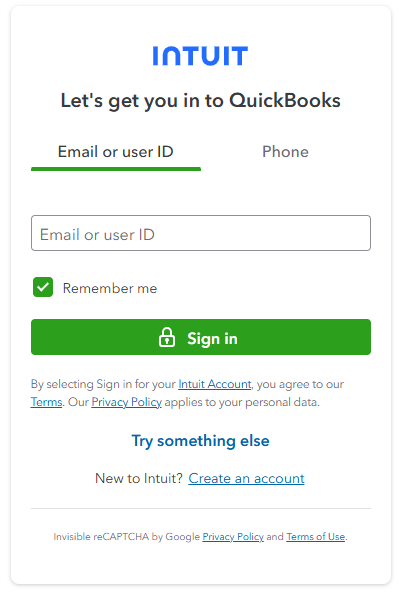
Next a series of log ins stages using your QuickBooks credentials will appear, including: Email/User ID, Password and (depending on your Quickbook settings) 2-step verification (this might be via a mobile or a 2FA app).
You will be presented with window to confirm the connection, ensure you click to Connect.
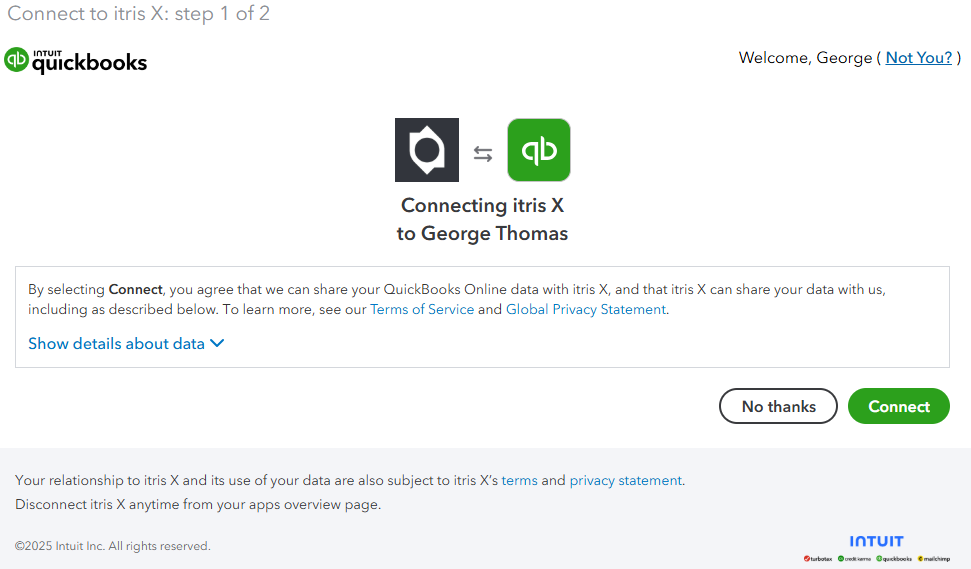
Once the above are completed, you will receive confirmation the integration is set up:

Set Up | Invoice Settings
You will now need to complete the Accounts System Settings within Tools & Settings > Financial > Invoice Settings (accessed via the Profile menu as shown above and available to those with permissions to access the Invoice Settings area).
Payment Settings
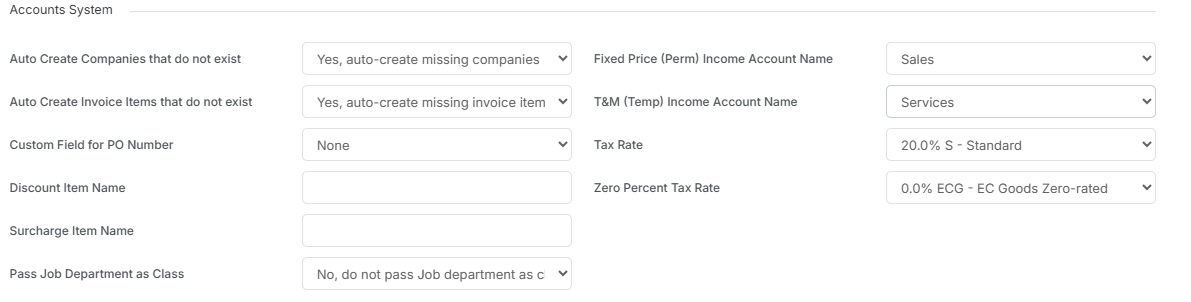
Below is a list of the minimum settings that will need to be added, the remainder of the settings are optional, and will depend on your QuickBooks workflow. The options available in these fields are taken from your QuickBooks account.
- Tax Rate
- Zero Percent Tax Rate
- Fixed Price (Perm) Income Account Name
- T&M (Temp) Income Account Name
Auto Create Settings
There are two Auto Create options:
- Auto Create Companies that do not exist
- Auto Create Invoice items that do not exist
These will instruct itris to automatically create Companies or Invoice Items that are not already in QuickBooks Online, so if you would rather these be created manually in QuickBooks first, set these to “No”. Be aware however that this may result in invoices being rejected if they are not found within QuickBooks as itris sends invoices.
Sending & Syncing Invoices
Once you have created invoices with in itris (see the article Invoices for more details) you can send invoices to QuickBooks individually or in bulk, and can sync back into itris updated status of those invoices (e.g. paid) from QuickBooks.
Invoices Area | Send & Sync
The Invoices area is accessed via in the main menu, where invoices can be sent individually or in bulk.
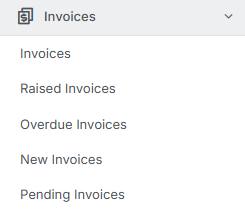
Note, within the invoices area there is a filter option which will allow you to filter the list of invoice by various criteria, including but not limited to Status, Company Name and invoice dates.

Once one or more invoices are ticked the Action menu will be displayed. You then have a choice of which invoices to send or sync.
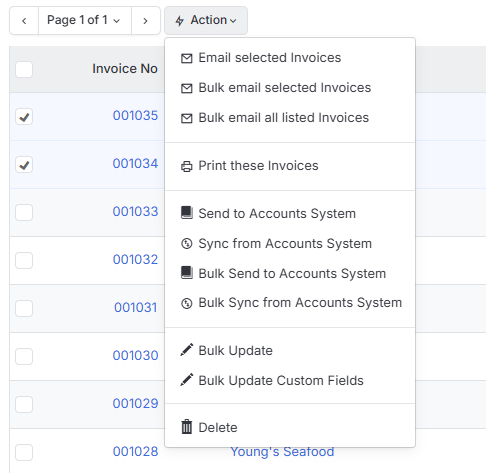
Send to Accounts System / Sync from Accounts System - this will send/sync the records with ticks next to them.
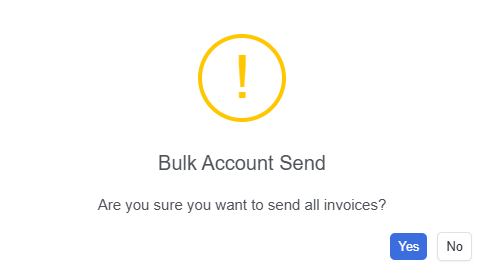
Bulk Send to Accounts System / Bulk Sync from Accounts System - this will send/sync records displayed in the view (e.g. you have applied a filter to narrow down the list to a particular company, only those invoices will be sent/synced). When using the bulk option (for either send or sync) you will receive a confirmation box to continue with the action.
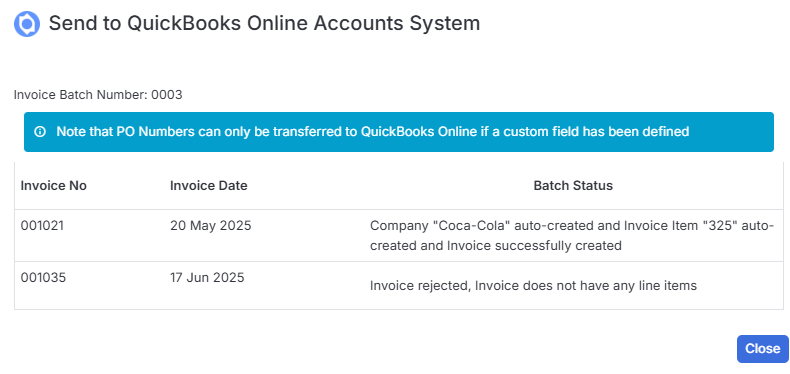
When Sending invoices via either route you will get a visual of those you are sending to QuickBooks and once you have clicked Send the Batch Status will be update.
Invoice Record
An individual invoice can also be sent to QuickBooks when it is open on your screen, for example when creating it, via the Action button.