Introduction
The Docusign integration brings electronic document signing into your itris workflow, letting you send contracts, forms, and other documents for signature without ever leaving the system. Once connected using your Docusign API Account ID, you can build Docusign templates that pull in itris data automatically, such as candidate names and other record details, using itris merge tags. Documents are sent as envelopes directly from record Action menus or Shortlist Cards, and you can monitor their progress and signing status in real time through itris.
Add-In Set Up
In order to use the Docusign integration some set up steps need to be competed in itris using details from your Docusign Account.
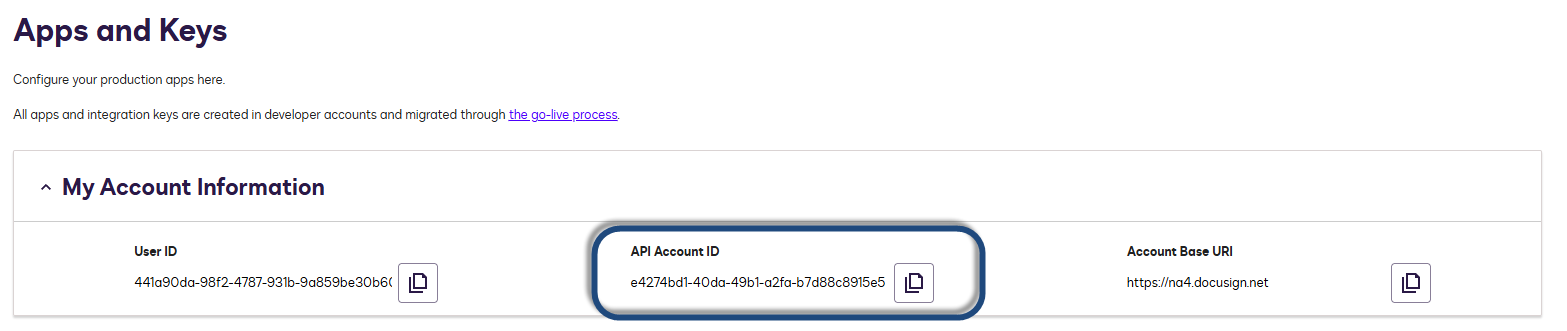
First you need to copy the API Account ID. This is accessed via the Admin area from the top menu. Here scroll down the menu on right to the Integrations area and click into Apps & Keys.
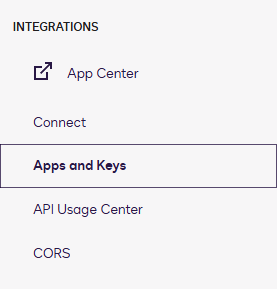
Copy the API Account ID - this will be used in itris to complete the set up.
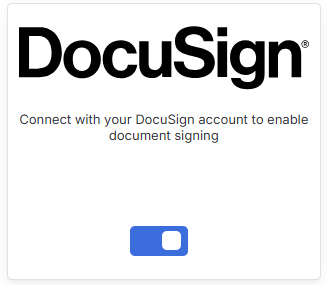
In itris go to My Settings (via the Profile Menu), scroll to the PlugIns area and Toggle on Docusign.
Enter your API Account ID (copied earlier).
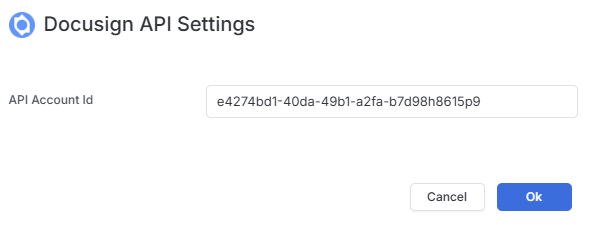
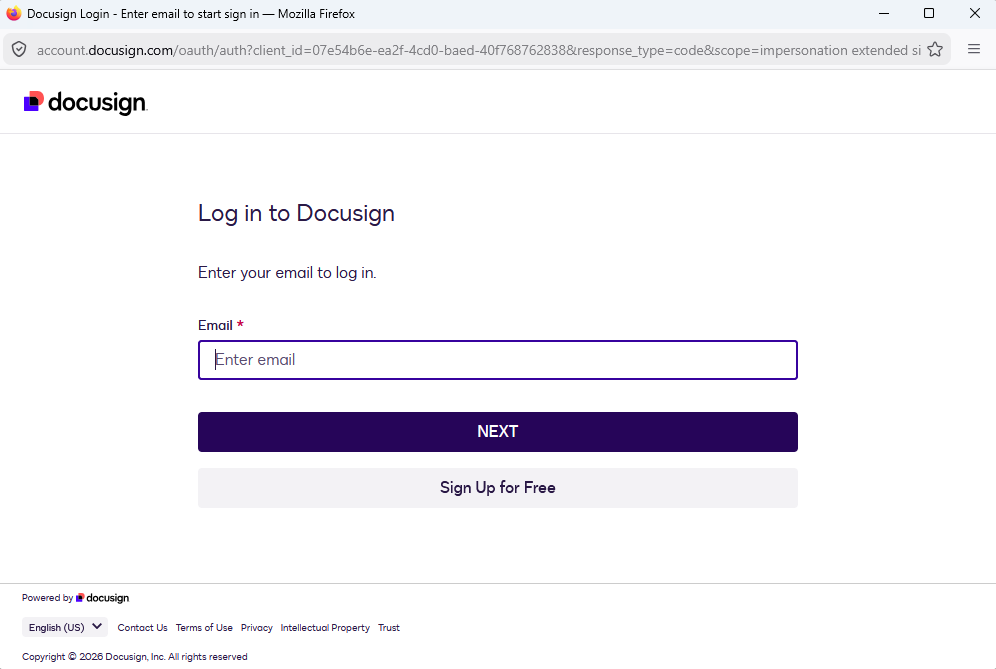
Complete the connection by inputting your Docusign Email and Password, and allowing access. Remember to Save your settings at the top right of your screen, Docusign has now been activated.
Adding itris Tags to Docusign Templates
The integration will use Templates/Envelopes created in Docusign, and in addition to the normal fields available via Docusign for their templates you can also add fields that populate from itris data, e.g. the Tag’s available in itris templates.
Record Tag Names
The merge field names in Docusign will need be exact matches to the Tag names in itris. To check these you can go to a relevant template in itris to cross check. For example if you are creating a Docusign template for Candidates go to a template aimed at candidates. Here via the insert Tags icon you can view the name of the available Tags.
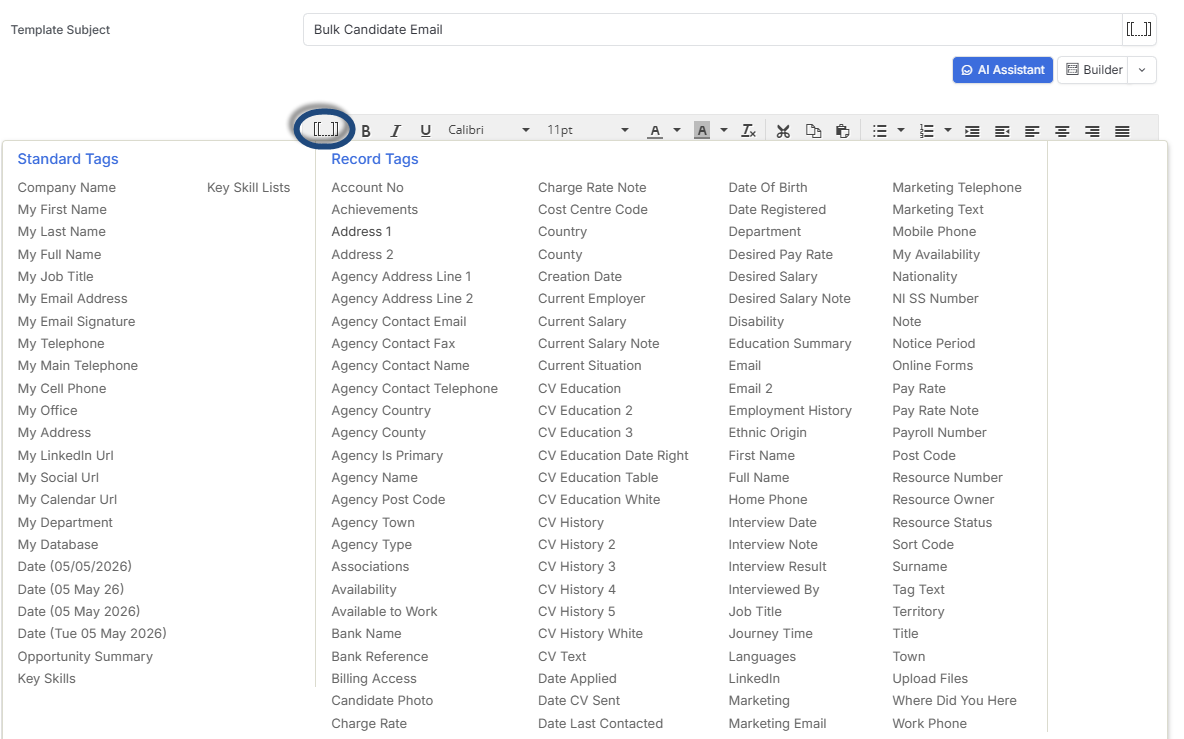
Apply Record Tags to Docusign Templates
To add one of these Record Tags as a Merge field in a Docusign Template you will need to open the template to edit it.
Under the Fields area called Input is the field “Text”, this field will first need to be placed within the document.
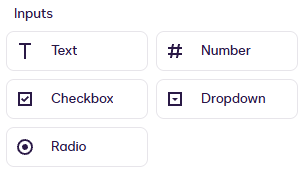
You will then need to click on the field to reveal the edit icon (the cog), click this to open the side panel.
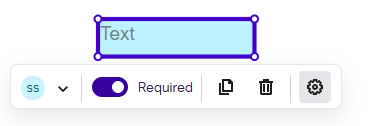
In the Settings here complete the following:
- Required - ensure this is toggled on
- Default Text - this is the text that appears in the field
- Data label - this is the exact Tag name as taken from itris
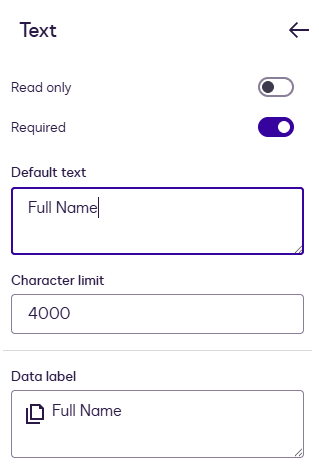
Once all the required Text fields have been added and settings completed you can Save your Docusign template. We will see these when we send the document from itris.
Using the Docusign Integration
As mentioned above, the integration will use Templates/Envelopes created in Docusign, ensure these are set up before proceeding.
Starting Points
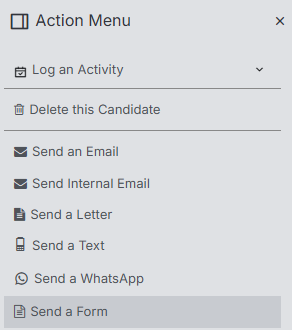
From the relevant record type you wish to send the document(s) from click on the Action menu and choose Send a Form.
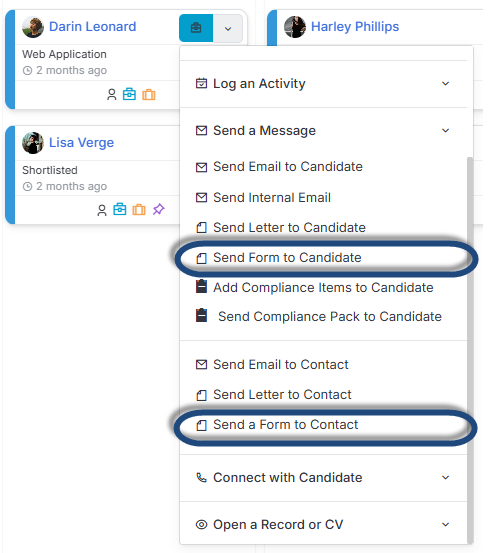
You can also start these steps from a Shortlist Card dropdown menu.
Sending the Envelope
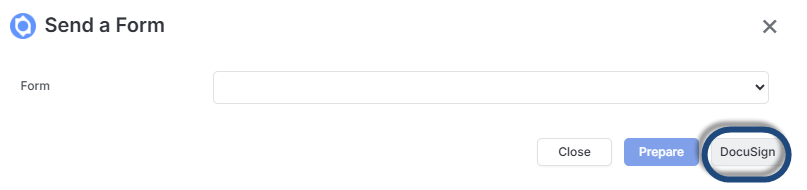
The first step will be do choose to send a Docusign envelope by selecting Docusign in this window.
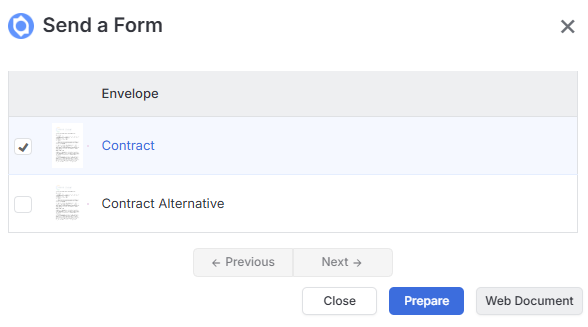
You will then be able to select one or more of your Docusign templates to send. Click Prepare to go to the next step.
The final window will show you details from your template, including the itris Tags added, in this case the “Full Name” tab.
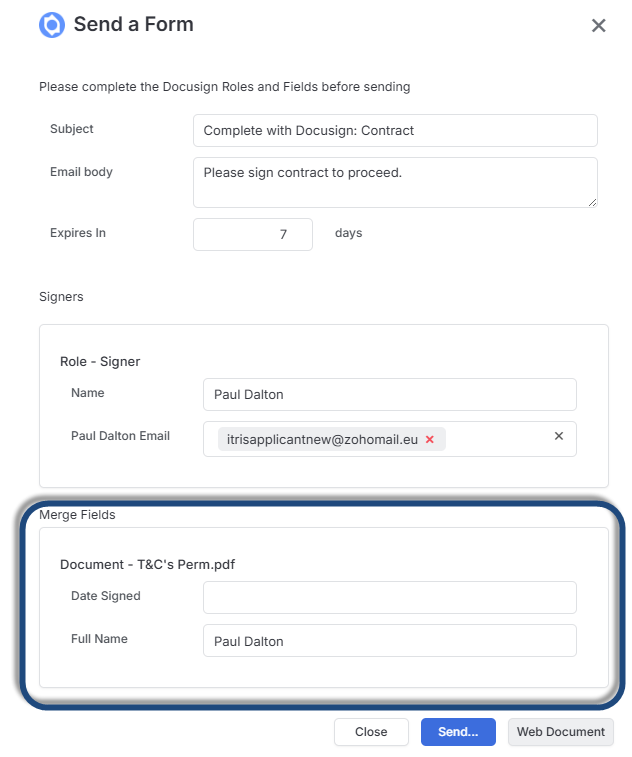
Click Send to send to the envelope.
Tracking Send Docusign Envelopes
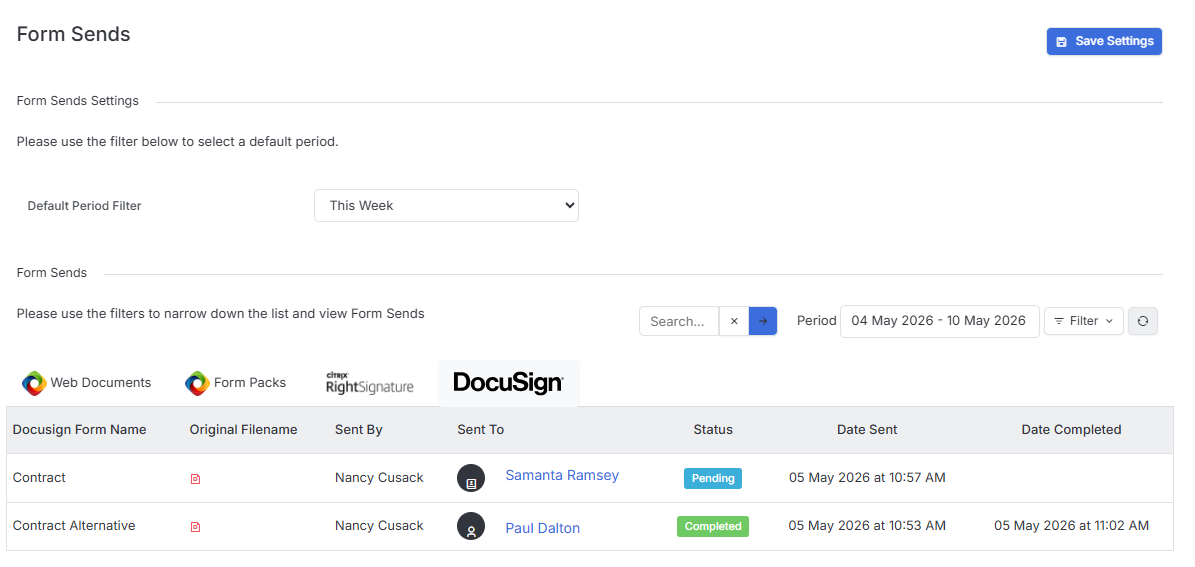
Documents/Envelopes sent via Docusign can be tracked via the Form sends block on the relevant record and via Tools and Settings > Collaboration > Form Sends.
Here you will be able to see the forms that have been sent and their statuses.