Introduction
Marketing enables recruitment agencies to build brand awareness and attract both top talent and quality clients, creating a competitive advantage in a crowded marketplace.
For recruitment agencies specifically, this means creating emails for passive candidates, follow-ups with hiring managers, and personalized job alerts based on candidate engagement—all while maintaining consistent branding and messaging.
With the itris Campaigner everything you need is all in one place, there is no need to export your people lists to another system. The itris Campaigner logs all the activity, including updating preferences, activities of what’s been sent to a person, notifications of any replies.
In order to send Campaigns you need Send Lists, these are the lists of Candidates and Contacts for the campaign to be sent to, see the Send Lists article for more details.
Campaign Views
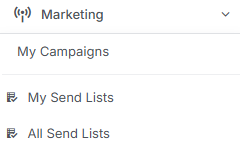
Campaigns are accessed via the Marketing area under the Menu Bar.
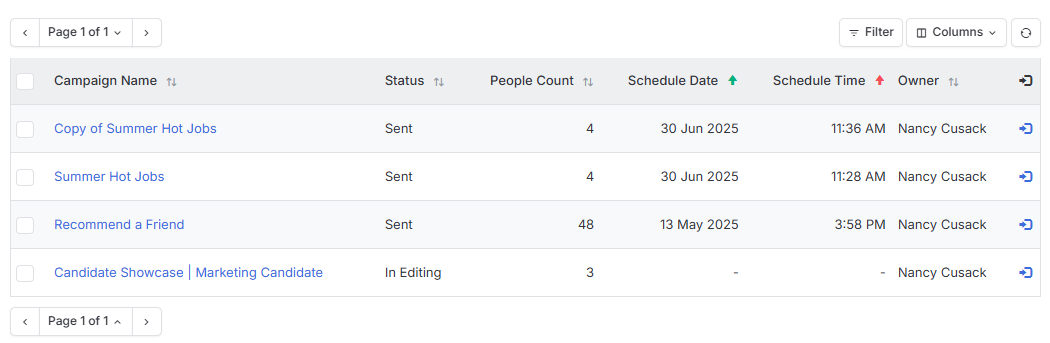
Campaign Views will show a list of Campaigns both Sent and In Editing stage along with other key information.
Columns can be added/removed and ordered as required, and the list filtered by various options including any Custom Fields used on campaigns.
Summary Pane
The Campaign Name is a hyperlink to open the campaign in the Summary Pane and show the results for a sent campaign, or allow you to continue editing an unsent campaign. Additionally, the Summary icon will allow the same actions.
Sent Campaigns
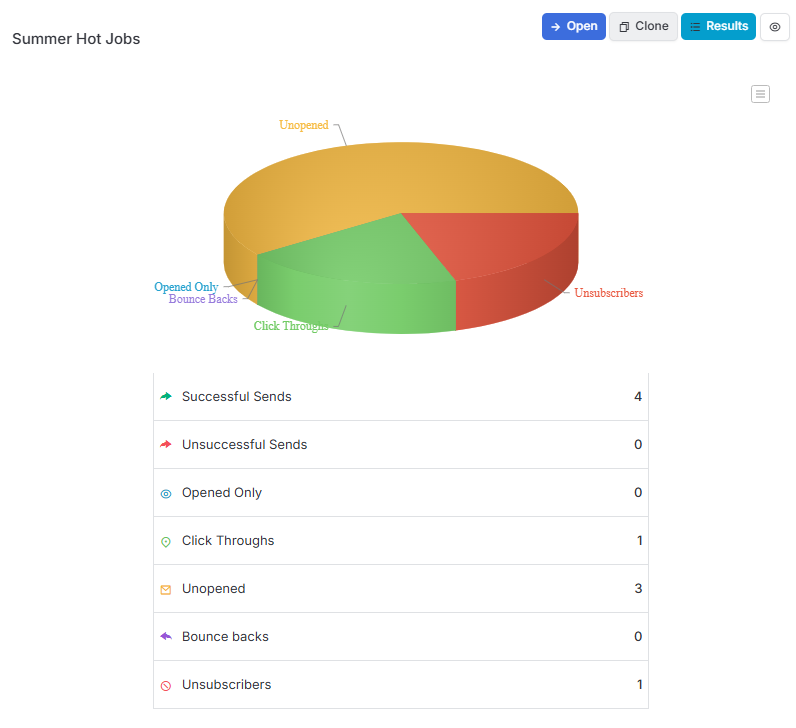
With Campaigns that have been sent there are options to Open the Campaign (for example to see the recipients & schedule), View the Results or switch between the Results and HTML view. The Summary Pane also shows an overview of the statistics and has an option to export these.
Unsent Campaigns
For Unsent Campaigns the Summary Pane will show the HTML view to you can see what has been created already for the campaign, with an Edit option to continue building it.
Cloning a Campaign
Whether selecting a Sent or In Editing Campaigns you will also have the option in the Summary Pane to Clone it. When cloning a Campaign you can edit all aspects including the name and subject line.
Creating a Campaign
To start creating a New Campaign (e.g. not from a Clone) click on the New Campaign button in the top right of the Campaigns View.
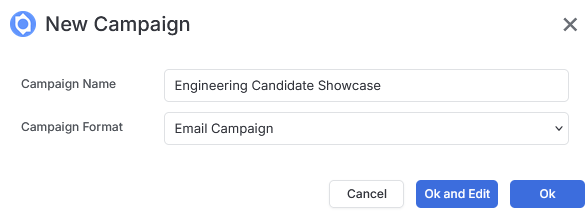
You can then name your Campaign (this can be changed later if required, before sending, via the Settings area).
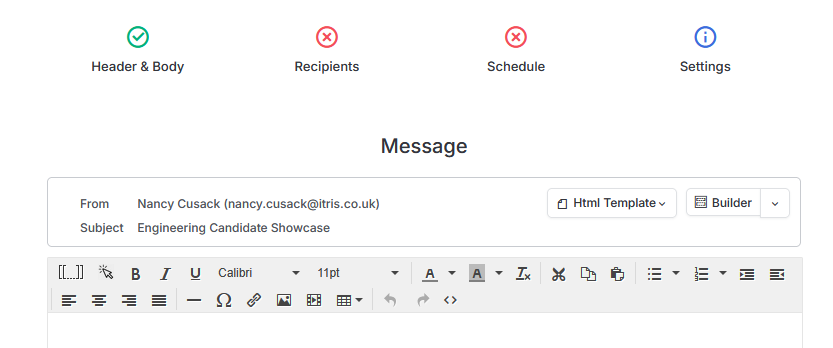
With each campaign there are 3 stages to complete:
- Header & Body
- Recipients
- Schedule
As each stage is completed it will be given a Green Tick.
There is also a Settings area where some details of the Campaign can be changed.
Header & Body
At the top of the Header and Body area is the Message header, with various options.
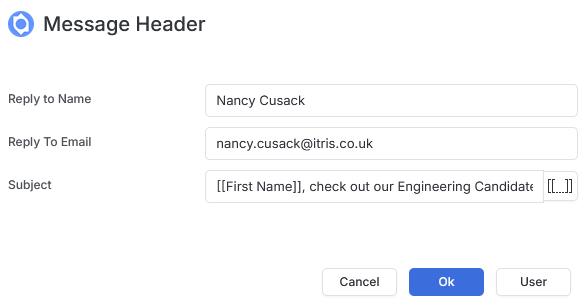
Clicking over the From or Subject areas will allow you to edit this information, including adding Tags to the Subject line.
Campaign Format Options
There are four format options for campaigns:
Normal email
- includes tags (see below), formatting, links, image, tables etc.
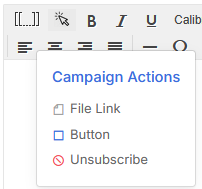
- via the Campaign Actions (arrow) button you can also add a button (e.g. with a link) and Unsubscribe.
HTML Template
- these are predefined templates which you can overwrite, e.g. edit pictures and text.
- some include buttons and links that can be updated as required.
- as with the normal email there is also formatting (including tags, see below) and Campaign Actions.
Builder
- this is where you can build your own eye catching emails, either from scratch or from a fully editable template.
- As with the other options, tags can also be added (see below)
- See below for more guidance on Campaign Builder.
Own Template
- any email you create via Builder can be saved as a template for you to upload and reuse as required. This way you’ll be on brand for all your campaigns without having to create from scratch each time.
- As with the other options, tags can also be added (see below)
- to load a previously created template you will need to load the Builder and scroll to the bottom of the window.

Tags
No matter which route you take to create your campaign, you can use tags to merge in data from itris records. You can also add tags to the subject line of your campaign to help your emails really grab the attention of the recipient.
To add in tags, first ensure your cursor is located where you wish to add the Tag, then click on the Insert Tag icon (this may look slightly different when depending if your in a normal email format, HTML or Builder. This displays the available Tags you can add.
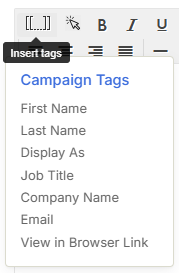
The Tag will display like this (note it is important to use the insert tag rather than type out the tag).

Using Campaign Builder
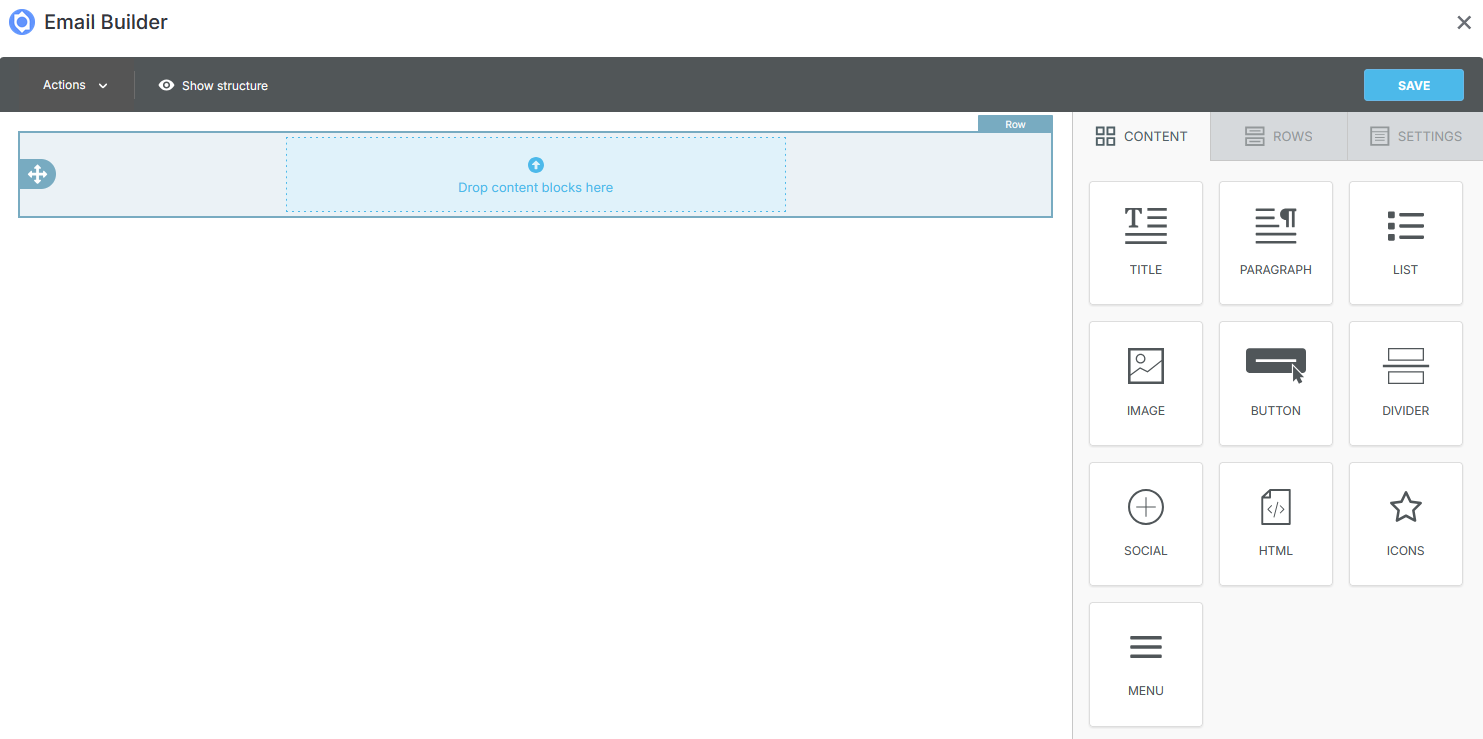
There are 3 parts to the content in the Campaign Builder:
- At the top level are the Rows, these are the structure of the layout
- The Rows contain the Content Blocks
- Into the Content Blocks the Content can be added (e.g. title, list, image etc).
When creating a campaign from a blank canvas (e.g. not from template) the first row and content block will be automatically added, to which you can add your first content type, e.g. title.
Rows
Rows can be added from the Rows tab and come in a number of different Content Block layouts so that you can add multiple Content to each row.
To add a Row drag and drop from the Row panel to the body of the campaign.
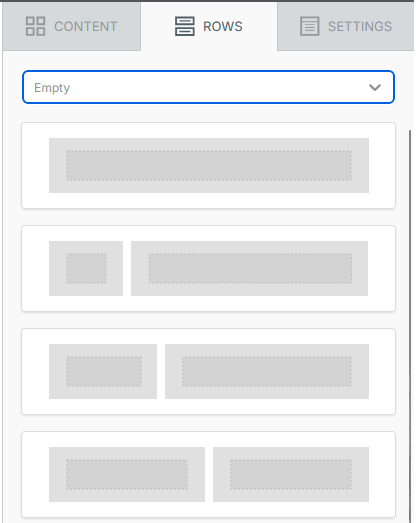
You can position the Row above or below existing Rows.
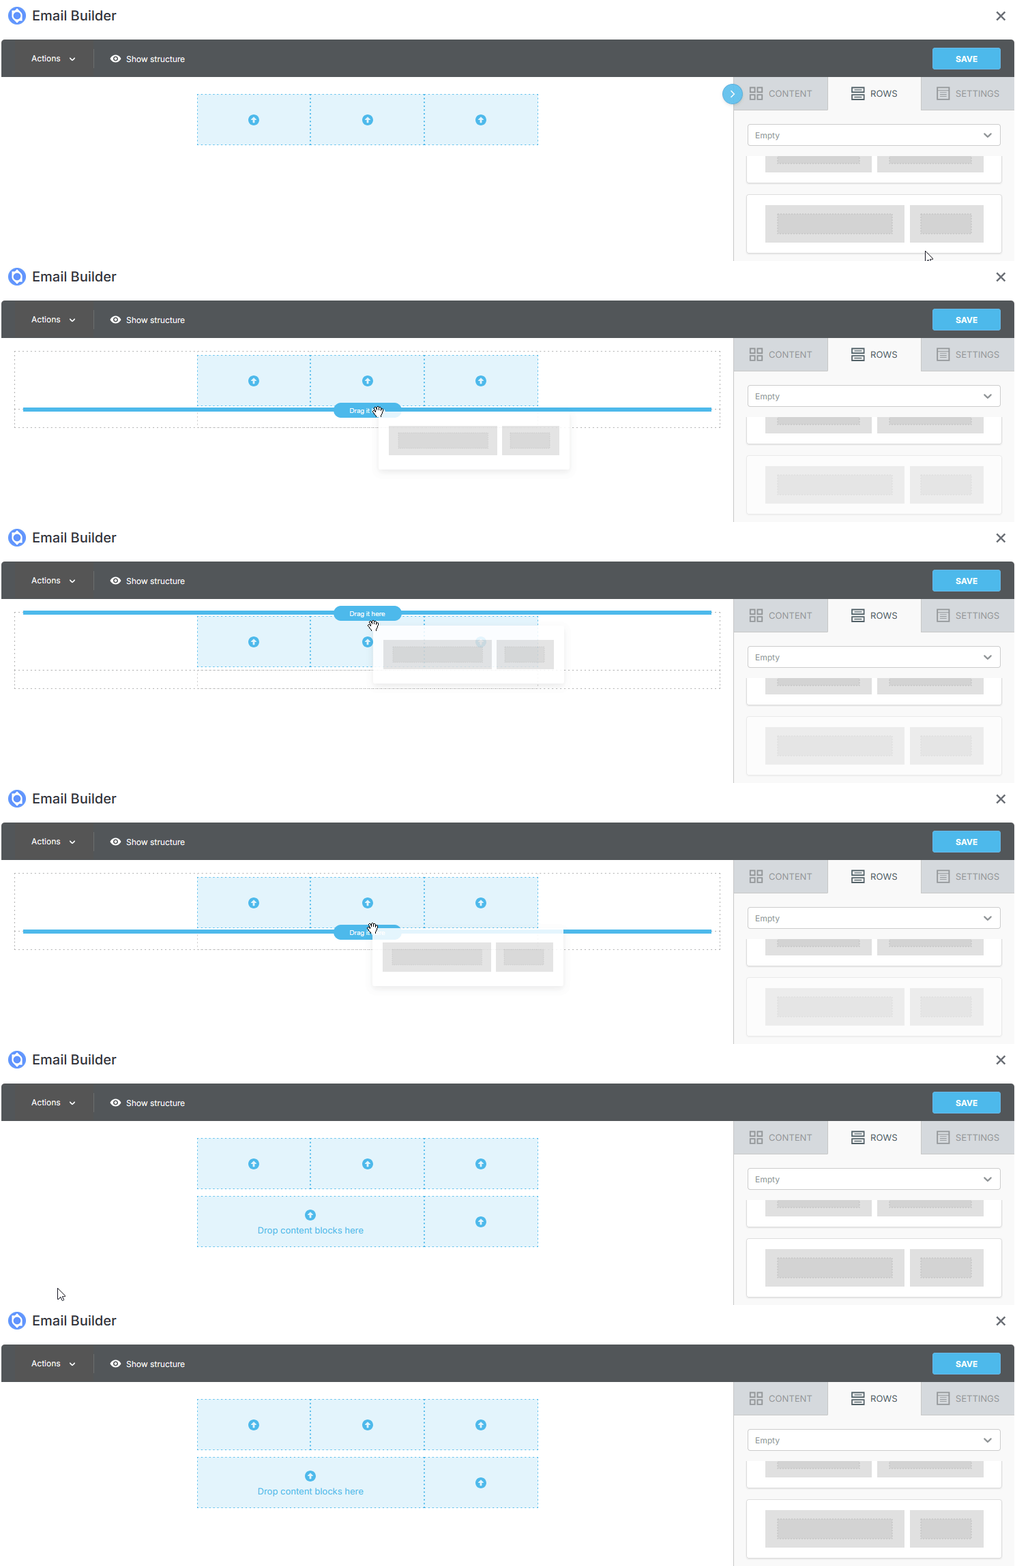
Clicking into a Row will give options to Move, Delete and Copy it.

When a Row is selected in the body of the Builder the Rows tab on the right will display the various options for the Row Properties including Background colour, borders, corners, hiding the layout in selected modes (e.g. Desktop or Mobile), column structure (e.g. adding additional columns and changing backgrounds of those) and padding.
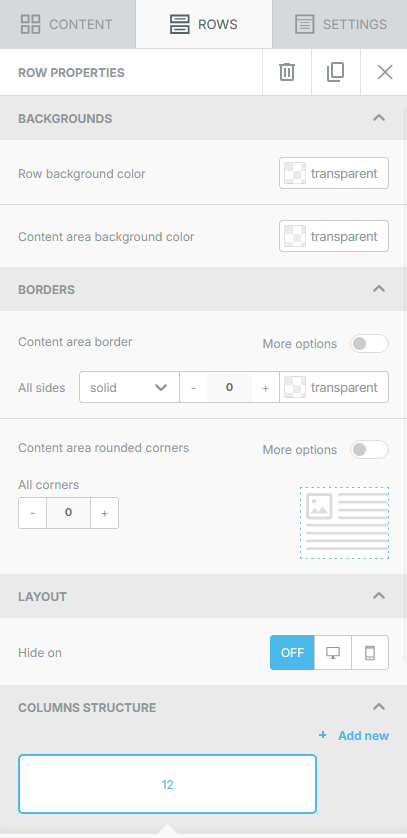
Content Blocks and Content
Once a row (with its content block layout) is added the Content types can be dragged and dropped into each Block to build your campaign email.
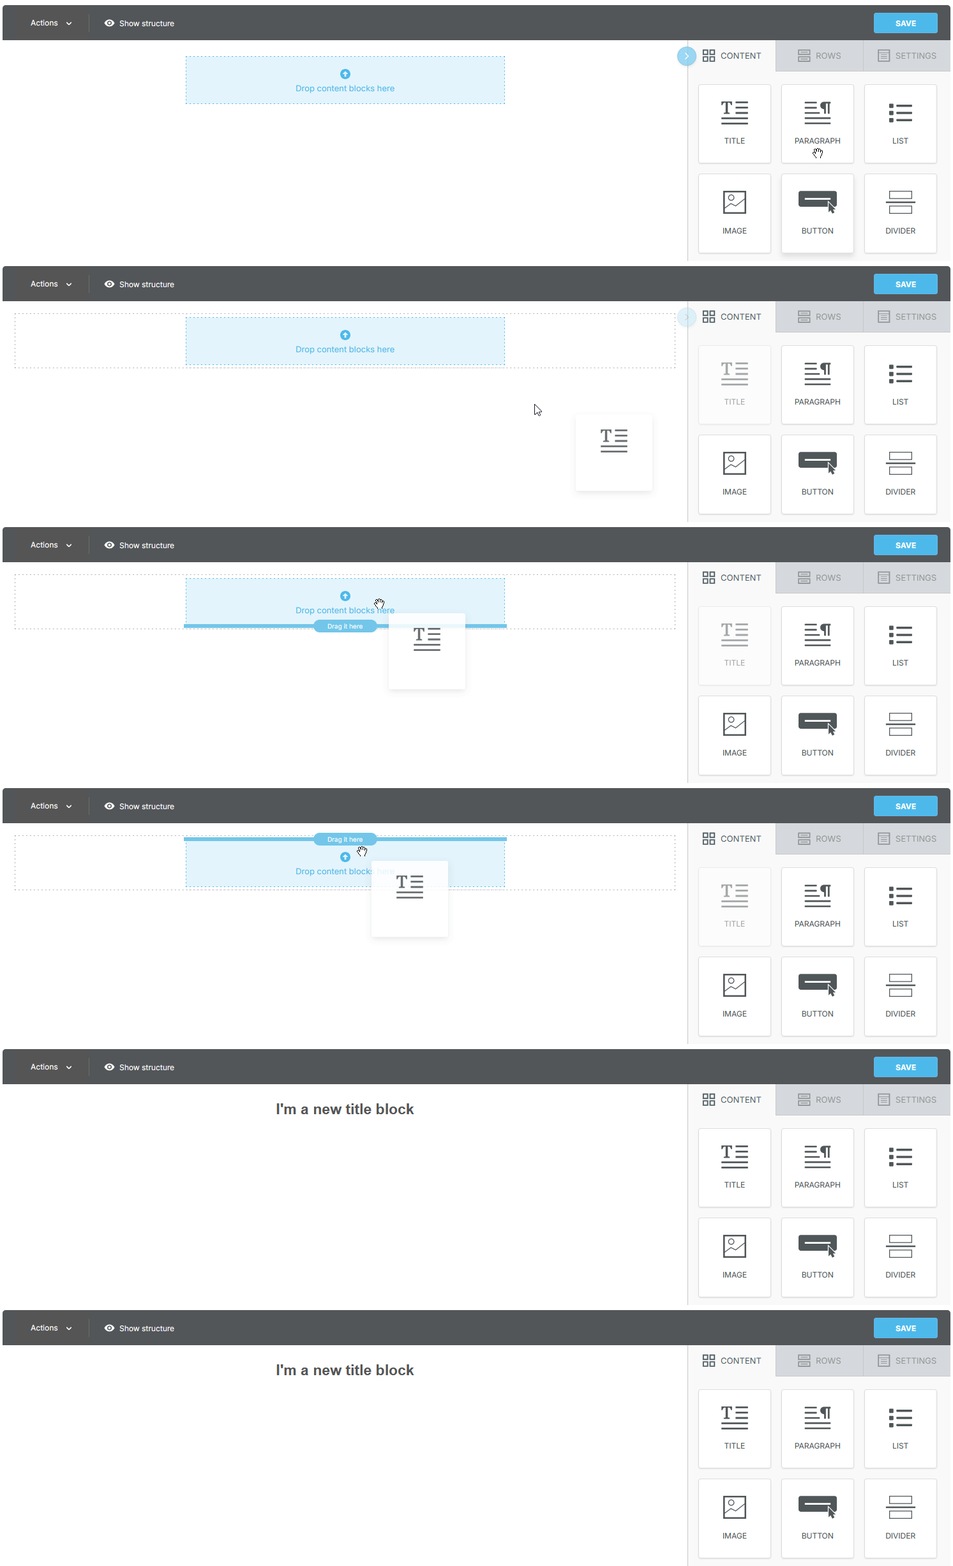
If the Content added is Text based, such as Title, Paragraph or List, you can click into the content to edit and format it. These options include adding in Merge tags (such as Name or Unsubscribe), special characters and links. You also have options to delete the content block or copy it.
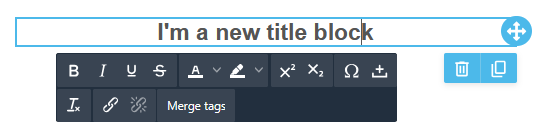
Additionally, when content is selected Properties relevant to that content type will be displayed on the right. The options will differ depending on the content type but you will be able to do things like change fonts, colours, size and spacing, add links, change alignments, hide in different modes and much more.
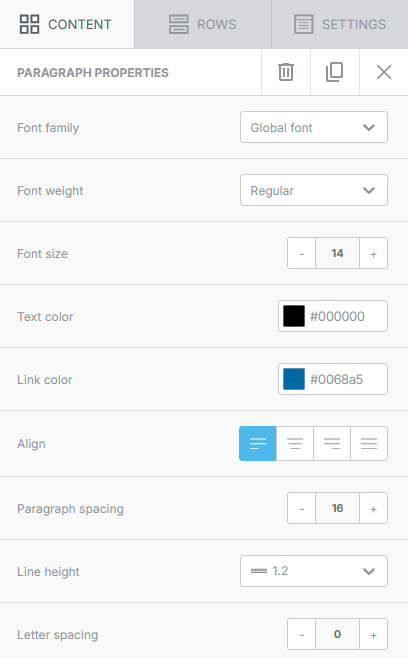
When adding images you can use any previously uploaded images, browse your files for a new image or search for Free images.
With Social you can add Social Media icons and links, even choosing the look of the icons.
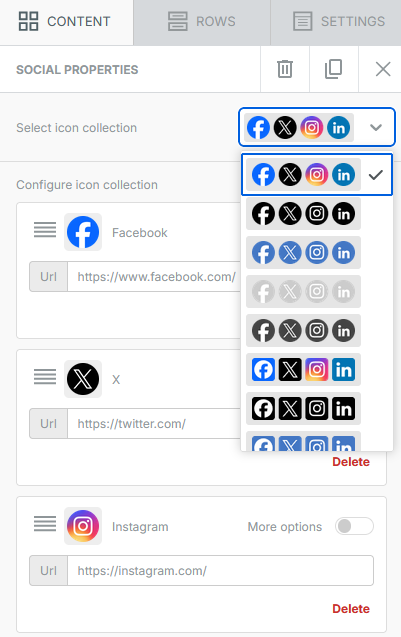
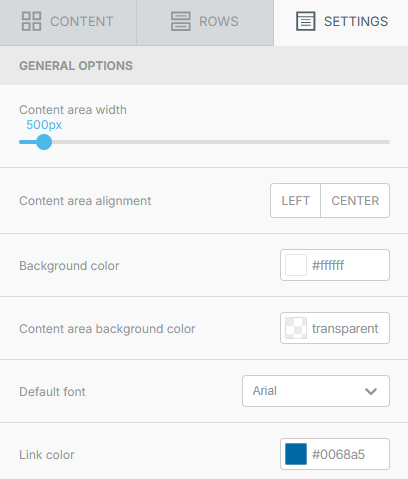
Settings
Under the settings tab are various defaults you can set along with the width of the content area.
Show/Hide Structure
This will show/hide the row & content structure without having to click into each row to see it.
Actions > Preview
Preview allows you to view the campaign in both Desktop and Mobile view so you can see what your campaign will look like.
Don’t forget, there are options to turn off content in certain modes within the properties of that content.
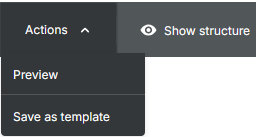
Actions > Save as Template
It’s also under the Actions button you can save your Campaign to use as a template. This will download a .json file for you to save and upload each time you need to use the template.
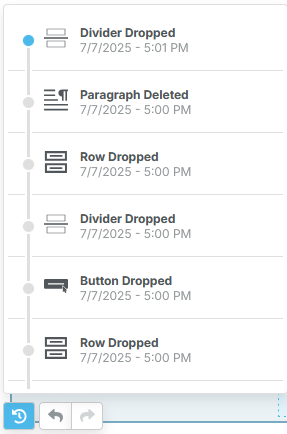
Audit, undo & redo
At the foot of the Builder area are buttons to view the history of creating/editing the campaign as well as undo and redo buttons
⭐Top Tip
When Previewing your campaign or where you have areas open such as browsing for images, be aware of which X (cancel) button you’re pressing.
Saving Campaign Builder
Once you have completing building your campaign you can click Save and progress to Recipients & Schedule.
Recipients
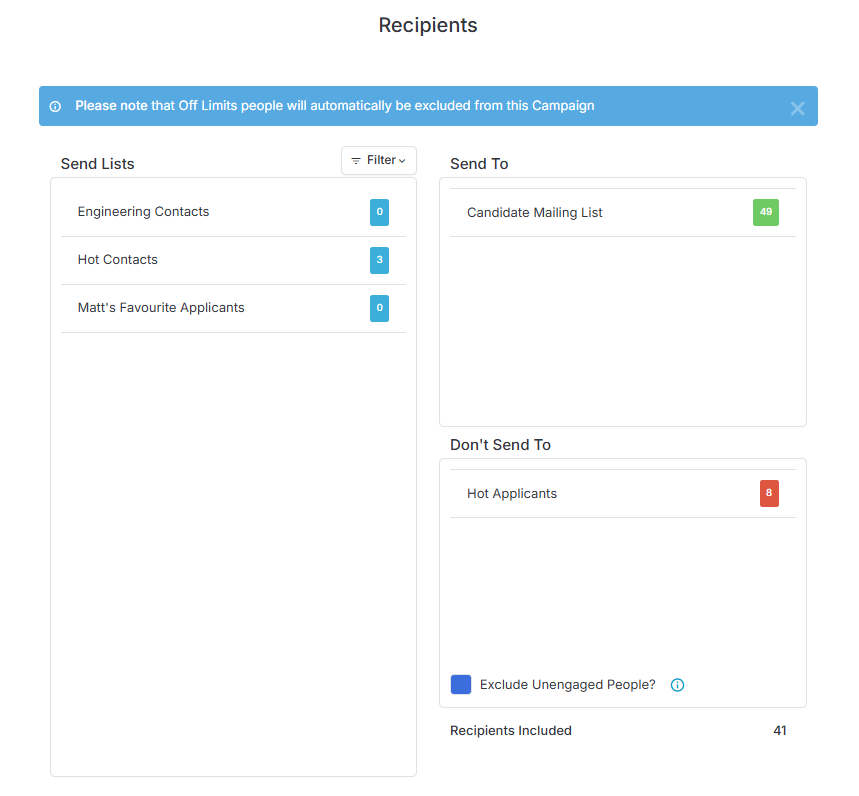
This is where you can choose from your Send Lists who to send the Campaign to and whom to exclude by dragging and dropping to appropriate area. Below these options is the choice to exclude unengaged people and a count of Recipients (which is the sum of the above options).
Any recipients marked as Off Limits or that have the Marketed toggle set to Opt Out will not be included in the final email (though may show in the count).
Schedule
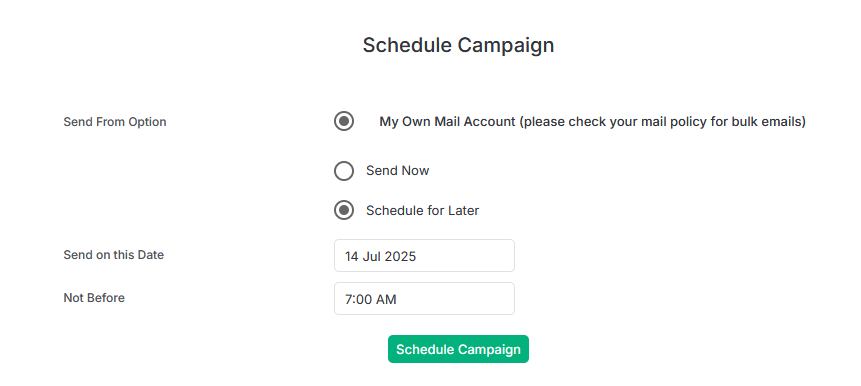
Under the Schedule area you can choose to send the Campaign email now or schedule it for a later date/time, if the later you can come back in and Un-Schedule if required.
You will receive email notifications to say the Campaign has been started, and that it has been sent.
Settings
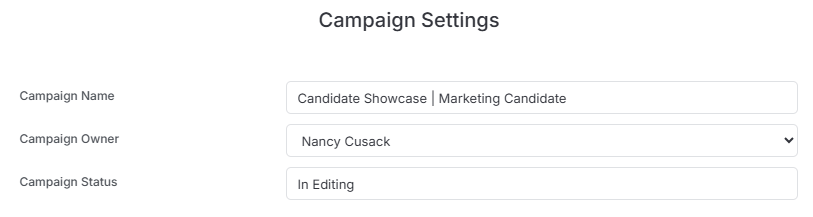
The settings area show details of the campaign, these Owner & Name can be changed whilst the status is In Editing.
Results
When a Sent campaign is selected in the Campaign View the Summary Panel will show an overview of the Results, with a Results button to take you into the analytics.
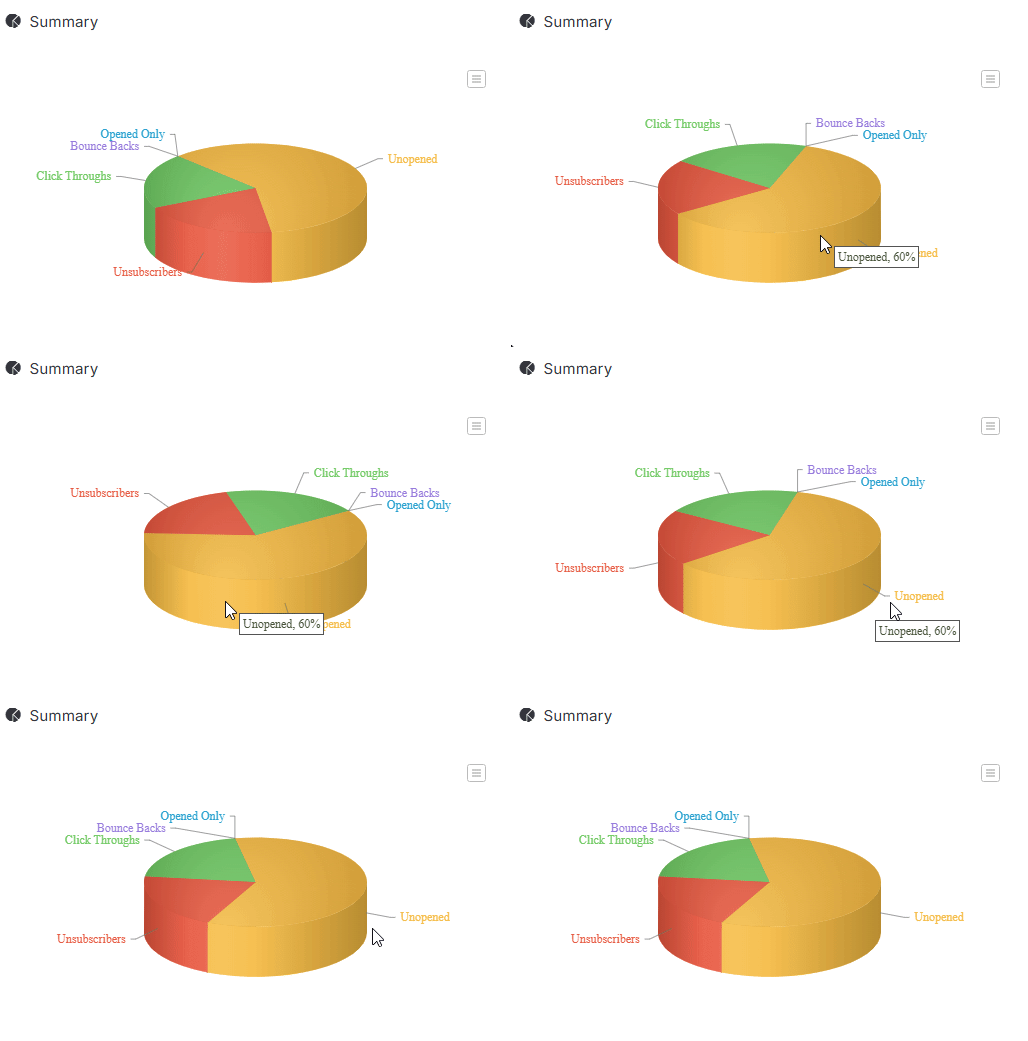
Summary
The Summary area gives an overview of the statistics and can be rotated. Additionally, there is an icon for export options.
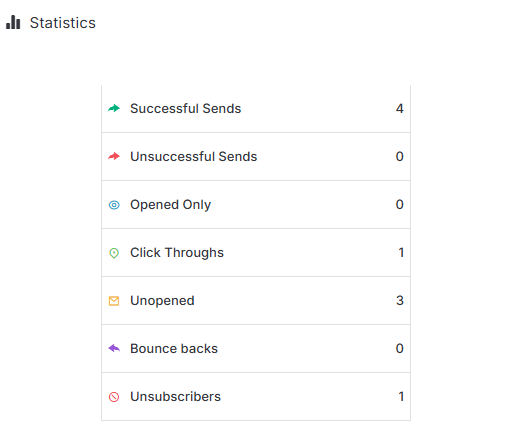
Statistics
The Statistics area shows they engagement results. It also acts as a filter for the Results list before - clicking one or more engagement rows will filter the Results list to recipients matching that engagement level, click again to unselect that row.
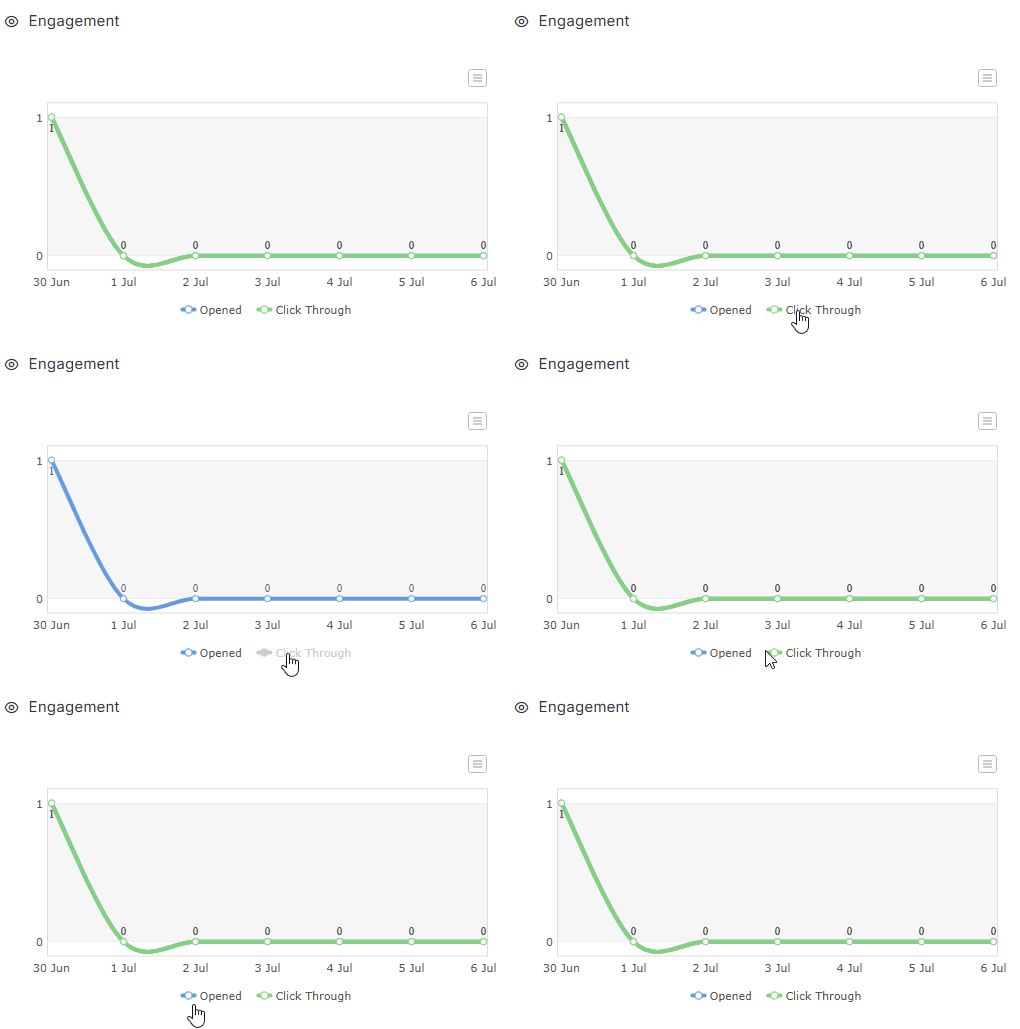
Engagement
The Engagement area is also interactive, clicking the key will show/hide those metrics.
Results
The results area will show a list of the recipients, note this may be paged. There are Quick View icons next to each recipient to view their record.
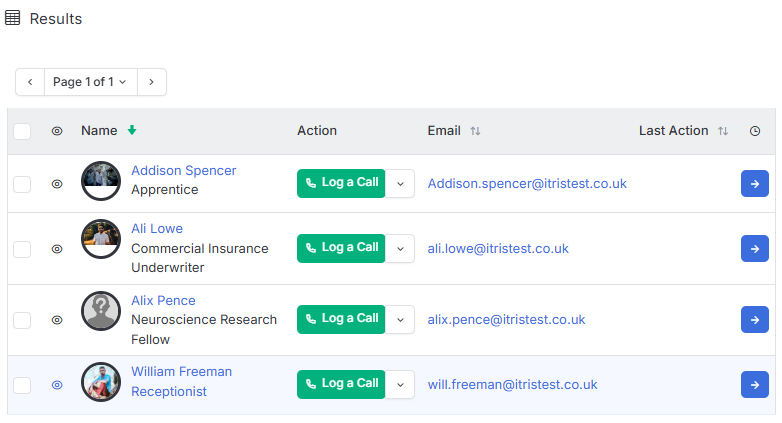
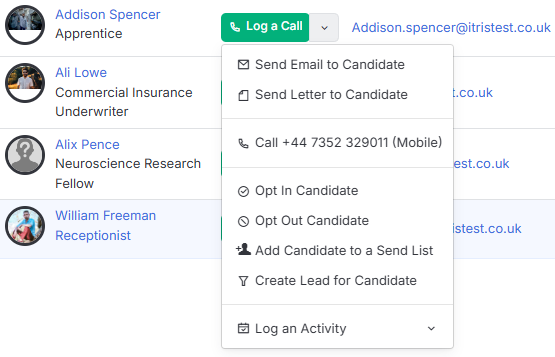
In addition to easily logging a call against each of those recipients, via the drop down menu next to that button are options to send email or letter, opt them in or our, add to another send list, create a lead or log another type of activity.
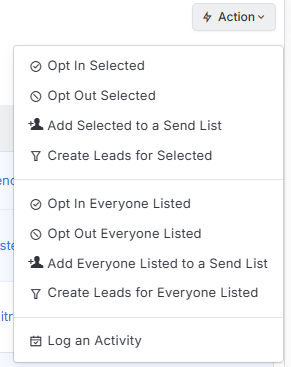
When one or more recipients are ticked the Action button provides similar options but for all the selected recipients.
The blue/arrow button at the end of the row will load the Timeline for that recipient.
Timeline
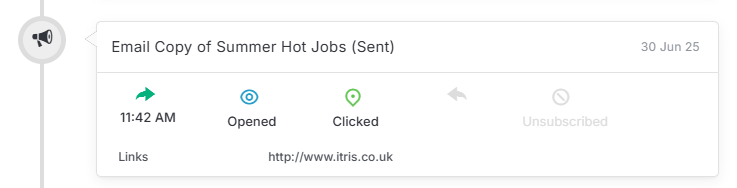
The Timeline shows activity against all Campaigns sent to that person, not just the campaign you are viewing.
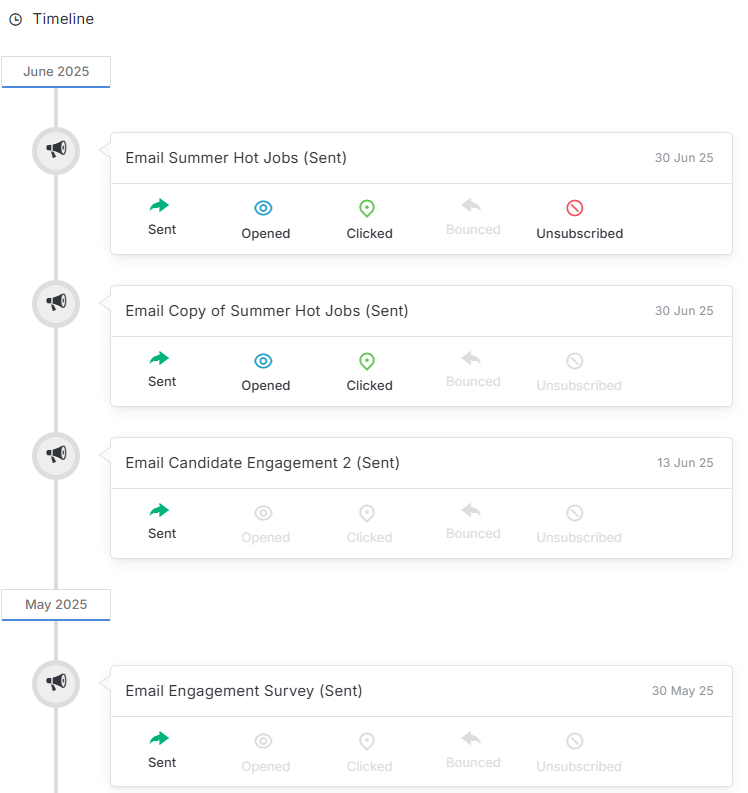
If there is a bounce back hovering over that entry will show the reason for it.
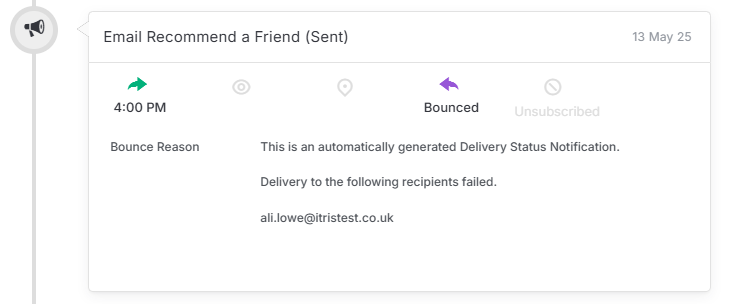
Likewise, where it will show any clicks.