Workflow
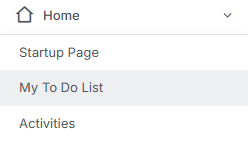
Yes, you can do this via the “To Do List” area accessible under the Home section of the Menu Bar.
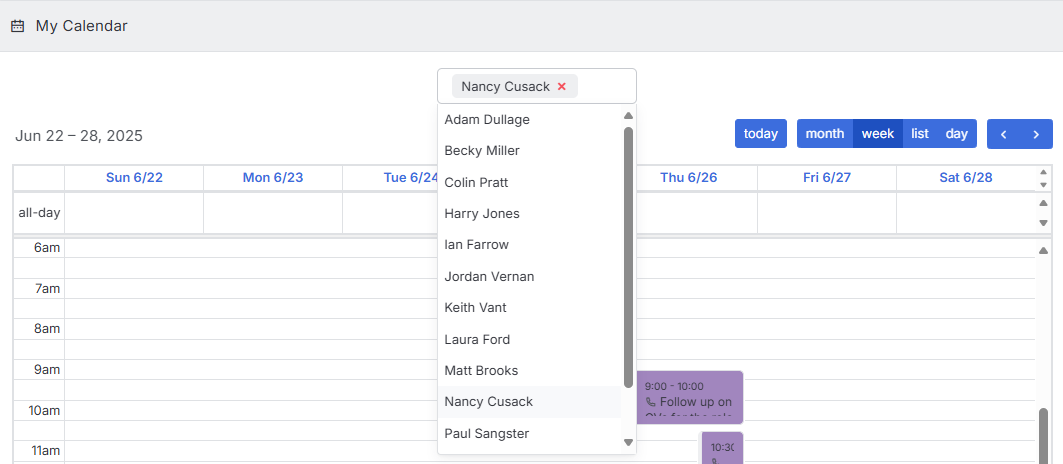
Once in your To Do List, scroll down to find the Calendar widget. Here you can click next to your name to add other users.
There are two options for Extensions workflow depending on whether you want the extension stages and/or the values for reporting recorded, or not.
If you want to record extension stages and change in values you would use the Renew Job workflow, alternatively you can just edit the End date and Pay/Charge values of the existing placement.
To use the Renew Job workflow you will need to go to the Job the Placement is made against. Via the Action Menu is the Renew Job option.
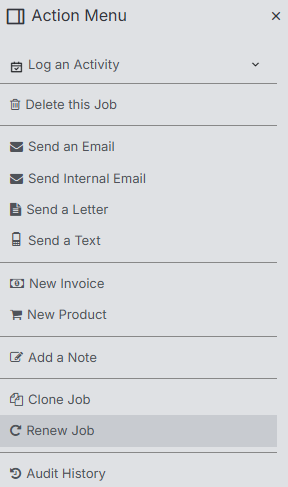
This is similar to Cloning a job where key job data is brought across, the difference here is that the dates will move forward (e.g. the start date will be a day after the end date of the Job you Renewed). Candidates that were shortlisted will be brought across from where you can move the Candidate to Placed. Ensure you check the values in case there have been any changes since the original job was created. There is the option to set the Business Type as Renewed which can be displayed in Job Views.

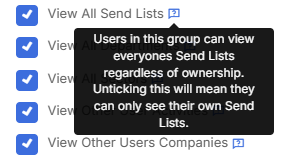
Yes, this is a permission associated with User Groups, see Tools & Settings | User Groups for more details.
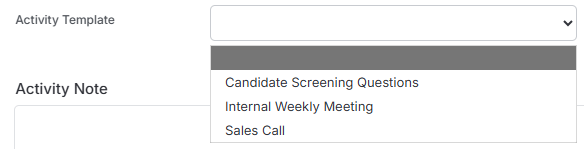
You can create Activity Templates within the Display Settings area of Tools & Settings. You can have as many of these as required and they will populate the Notes section, you can then edit if required. When creating a new Activity you can choose the Template you wish from the drop down.
These are great for things like Screening questions, or prompts for Sales Calls.
Firstly, why would you want to?
Campaign builders offer significant advantages over standalone emails through sophisticated targeting. They achieve higher open rates and generate more revenue than standard promotional emails, while accounting for a substantial portion of email-driven sales from a relatively small share of total email volume. These don’t have to be fancy emails, you can send “normal” looking emails via Campaign too and still track statistics like opens, click throughs etc.
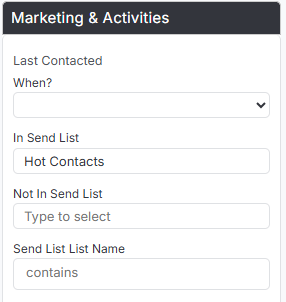
However, you can send a “normal” email to contacts or candidates in a Send list by first filtering to this Send list via Record Find (found under the Marketing group of filters) and then selecting the records you wish to email (by page) and using the Action button to bulk email selected record. See the Bulk Emailing article for more details.
The Fee can be added to the Value field on the Job. This value is what you’ll see in Job and Placement History tables elsewhere, for example on Company and Contact records.
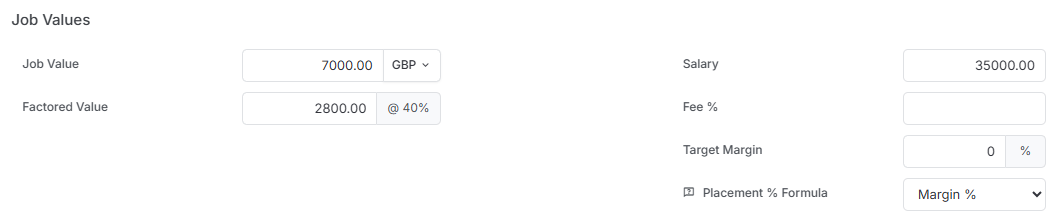
There is a caveat here though; when invoicing Fixed Fee placements via itris one of the following is required in order to generate the invoice, either:
the Placement record will require a percentage value under Rates, Taxes & Accruals (this is a list managed via Application Settings > Payroll Taxes)
the Job record will require a Products & Services item added, which can be applied to the invoice (which would be the option if you didn’t want to add a percentage).
Yes, this is called Mandatory data and is managed via Tools and Settings. You can set Mandatory fields for Company, Contact, Lead, Job, Candidate and Placement records.
Additionally, you can set Custom Fields to be mandatory too, this is managed via the Custom Fields itself rather than under the Mandatory Fields area.
These will be required when both creating a record and when saving (for example you’ve add new requirements to mandatory fields which older records might not currently match).
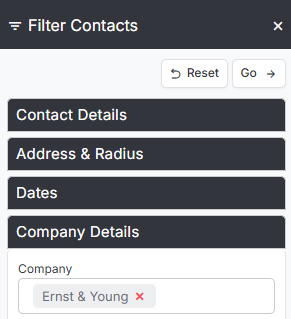
This can be achieved via a Contact Record Find by adding the Company name under the Company group of filters.
Records
itris doesn’t have an “Archive” function, however it does have a “Soft Delete”. Deletion is permission based, if you have this permission you’ll find the option to delete a record via the Action Menu.
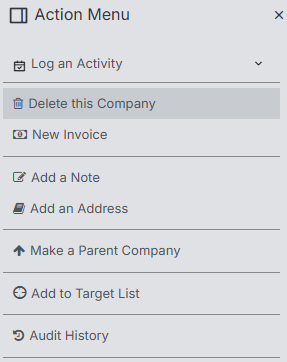
Delete records will go to the Deletion List from where they can be restored if required. If you require a record to be removed from the Deletion List please contact our Helpdesk.
An alternative workflow would be to create Record Types or Statuses for “Archived”
From the Action Menu of a Record you can choose to view the Audit History.
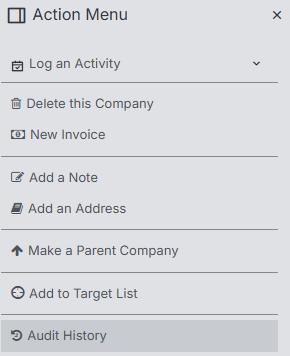
Additionally, there is an Audit History Viewer within Tools & Settings which shows activity from across itris by Record or User.
Audit History is also available on Activities.
Yes, a Company record can be set as a Parent record via the Action Menu. If a record is already a Parent this option will read “Make a Sub Company”.
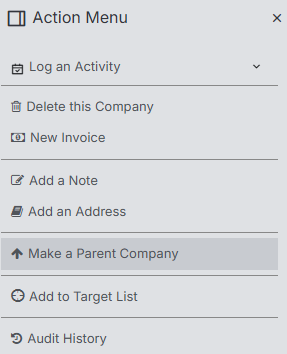
When a Company is a Parent Company it will indicate this in the Parent Company field of the Company Details block.

To add a Subsidiary go to that Company record and search within the Parent Company field for the Parent Company.

You can add a Subsidiary Block to a Parent Company Record Layout to see a list of all the subsidiaries linked to that company.

In itris Candidate Statuses help you to ascertain the current situation for an Candidate in your database. Each Candidate Status will have a State applied to it, either Active, Inactive or Do Not Use.
Active - Candidates are considered fully active and searchable. They will appear by default in all Long List searches .
Inactive - Candidates are visible on the system but not considered fully active (e.g. recently placed or on long term leave). They will not appear by default in Long Lists searches but can optionally be included in searches.
Do Not Use - Candidates are visible on the system but not considered active or suitable for placements. They will never appear in Long List searches or the Quick Pick drop down.
Yes, within Tools & Settings > Customization > Display Settings is the option to Confirm Before Leaving Unsaved Changes.

The Lifecycle block on records will tell you when it was created, along with other key dates in that records journey.
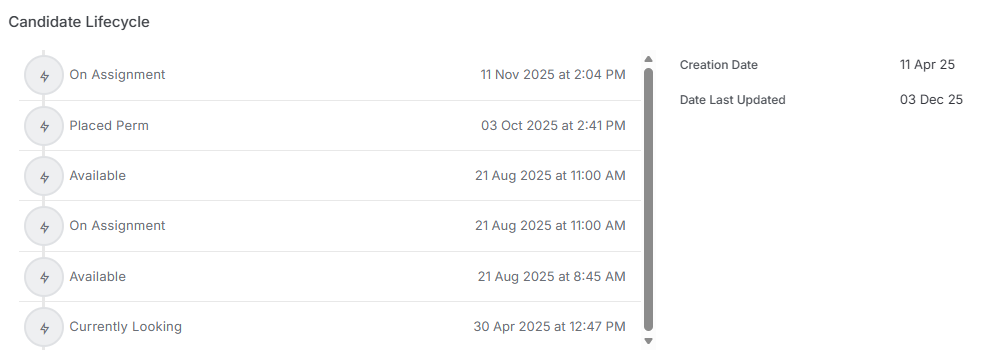
On a Job record this will be the Date Opened, however please note this is editable, and on a Placement this is Date Assigned.
These are both essentially list item you can manage via Company Settings & Contact Settings, however with Types a record can have more than one selected.
With Company Types they can also be assigned to Departments, set as new or existing and if they are a supplier.
Factored Value shows the realistic value of a job based on how likely you are to fill it.
Each Status on a job has a Probability percentage that reflects your chances of success at that stage. For example:
2nd Interview might be set at 80% probability – you’re fairly confident you’ll fill this role
Placed/Filled would be 100% – the job is definitely won
The Factored Value is calculated by multiplying the job’s total Value by the Status Probability. So if a job is worth £10,000 and it’s at 2nd Interview (80% probability), the Factored Value would be £8,000.
This helps you forecast more accurately by showing the realistic value of your pipeline rather than just the total potential value.
See the Tools & Settings | Job Settings article for how to set Probabilities against Statuses.
Settings
Yes, you can switch between Light & Dark Mode via the Profile Menu.
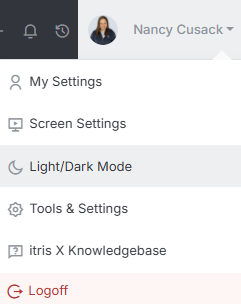
Via the Profile Menu you can access your Screen Settings.
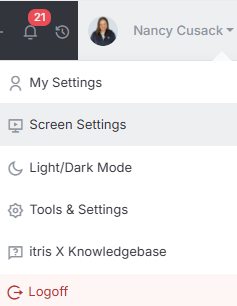
Here you can:
Adjust the colour between Light & Dark Mode.
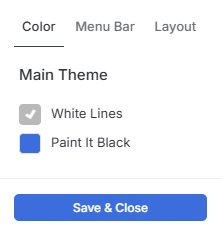
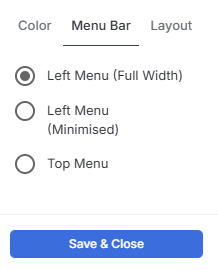
Choose how the Menu bar appears.
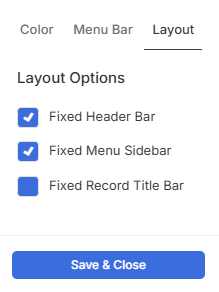
Fix certain Layouts so that they don’t automatically collapse.
Miscellaneous
Yes, AI is working in lots of different area’s of itris, for example:
Matching Applicants to Jobs.
Writing Job Specs when creating a New Job or on Existing Jobs.
Generate Boolean Search stings when searching for Candidates to Longlist to a job.
Evaluate Longlisted and Shortlisted Candidates’ CVs against the Job Spec.
Generate Email Content.
Write a Profile for a Candidate.
The AI in itris gets smarter the more you use it. Every time you search for candidates, submit applications, or work with records, the system learns from your patterns and preferences to serve you better results and suggestions.
Your data stays completely secure with our “closed AI” approach. This means the AI only learns from your specific itris database and never shares or feeds your information into external systems or the wider internet. What happens in your itris stays in your itris.
The more you use features like candidate searching and job submissions, the more tailored and accurate the AI becomes for your specific recruitment needs and workflow patterns.
Yes, you will need to complete some setting up in Tools & Settings | Telephone & Text Settings, and if you are using MS Teams an additional set up step is required under My Settings for the plug in.
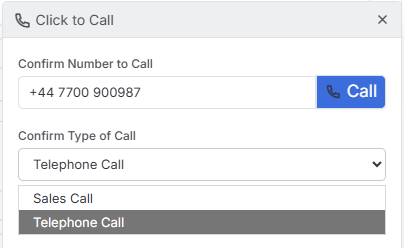
Once the settings are completed you’ll see the option next to the phone number fields on your records for Click to Call.

Once clicked, and if your settings dictate an Activity is required, you’ll need to select the Activity type before being the call is directed to your chosen telephony app, and where applicable a New Activity of the selected type will open ready for you to fill out.